Showing posts with label Bead Table. Show all posts

Sunday, August 19, 2012

Eating My Words

I said: The reorientation is the only untried part of this bracelet.

I should have known better.  I have spent many hours this morning working on a rectangular beaded bead just like the reduction bead I used for the Turquoise Slab Necklace.  All to no avail.

RAW Not Working

That beaded bead has a right angle weave (RAW) base.  I just cannot get my 10/0 Delicas to work.  I think I need regular seed beads. 


This is my third attempt! Nothing was aligned.  The sides were not straight.


Failed plans, a different approach
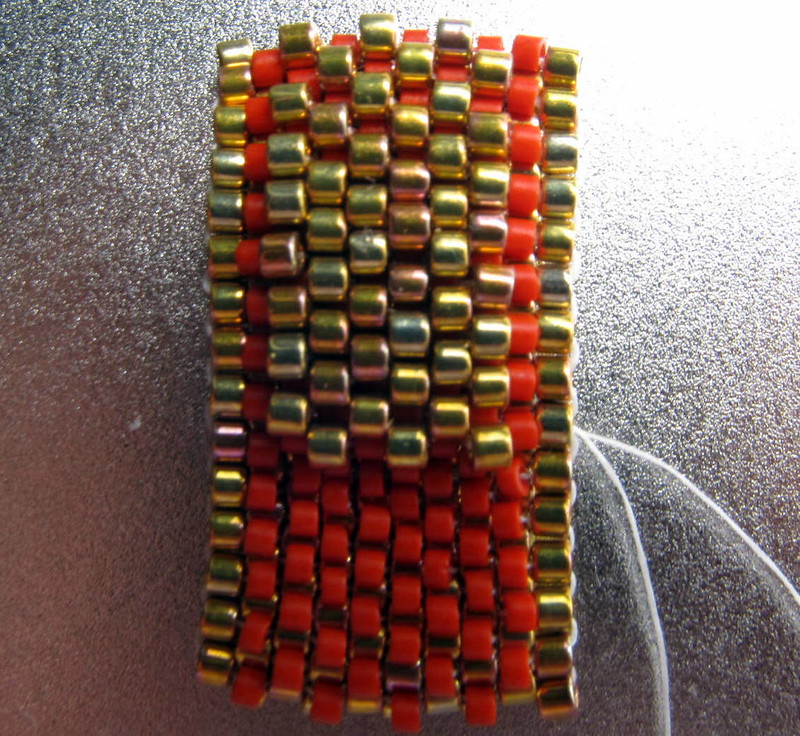
I wanted a rectangular layered beaded bead to place next to the bezeled cinnabar bead.  I went back to my favorite stitch- Peyote.


This isn't quite right either.  I want to see more of the red showing through the gold.  The picture does not show that the ends are curled under.

I actually thought about a quick trip to the craft store to buy a square wooden base.  But, that is not the solution I am looking for.


Possibilities


The curled ends did inspire me.  Expect something layered and rounded.


Maybe the many hours referenced above is a bit of an exaggeration.  It has, however, been hours.  Does everyone else go through this or is it just me?

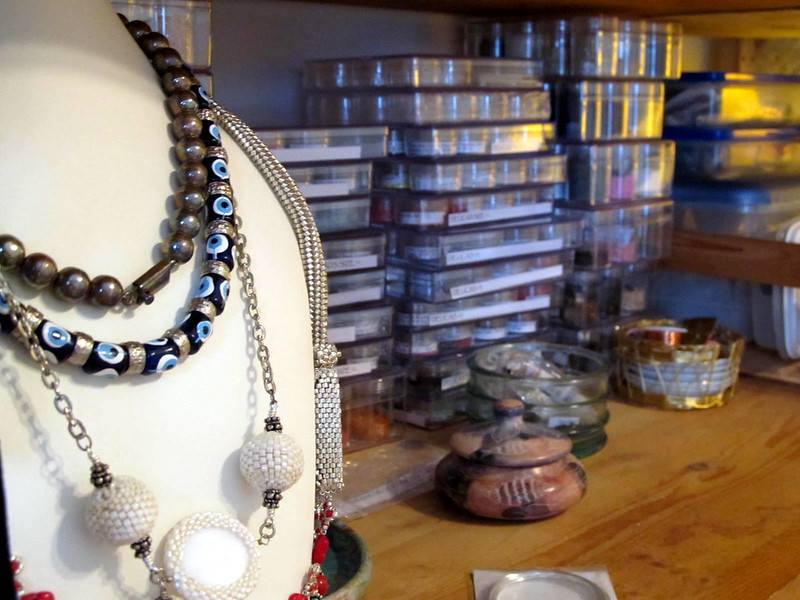
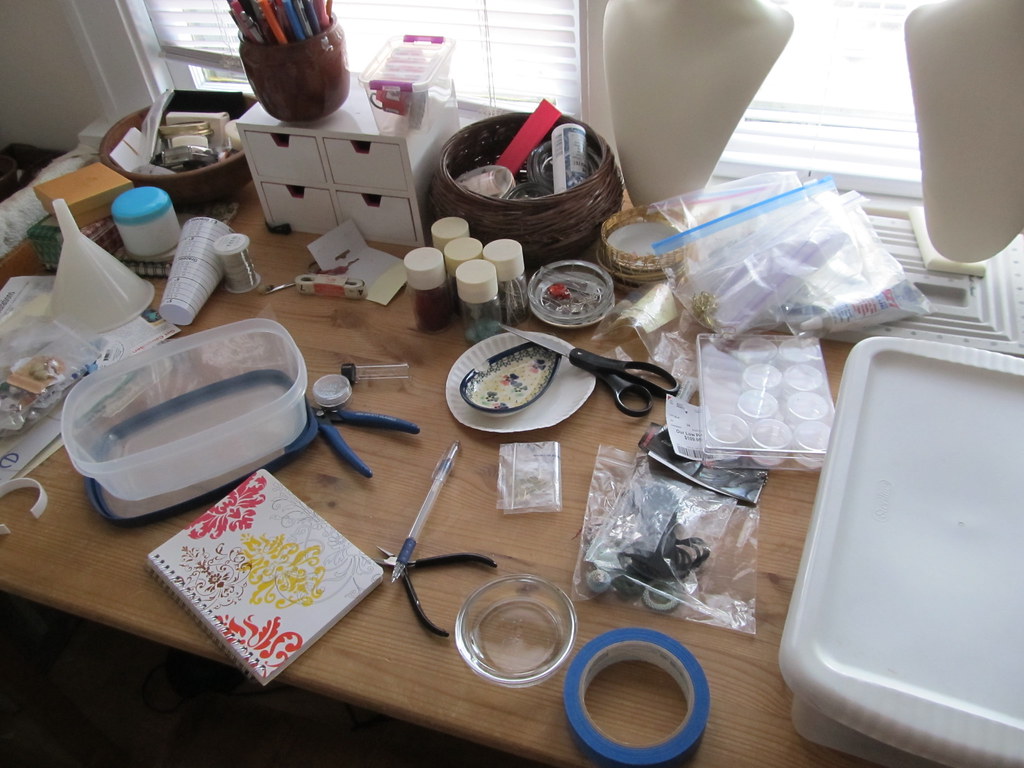
While I was working this morning I did snap some pictures of my bead table and work space.  Since I am fascinated with where everyone else works, I thought I would share.
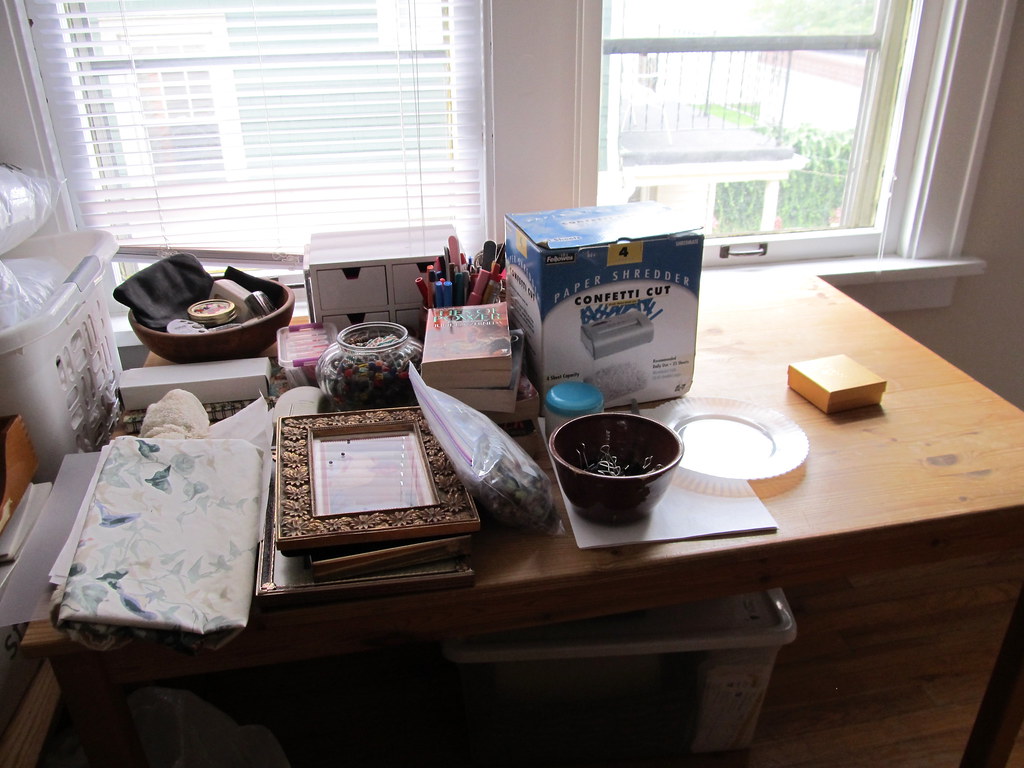
Bead table- my actual work space, minus the dirty napkin.  I watch shows on my computer as I work on my jewelry.


Bento box tray for the current project
Bead table and work space the overall view
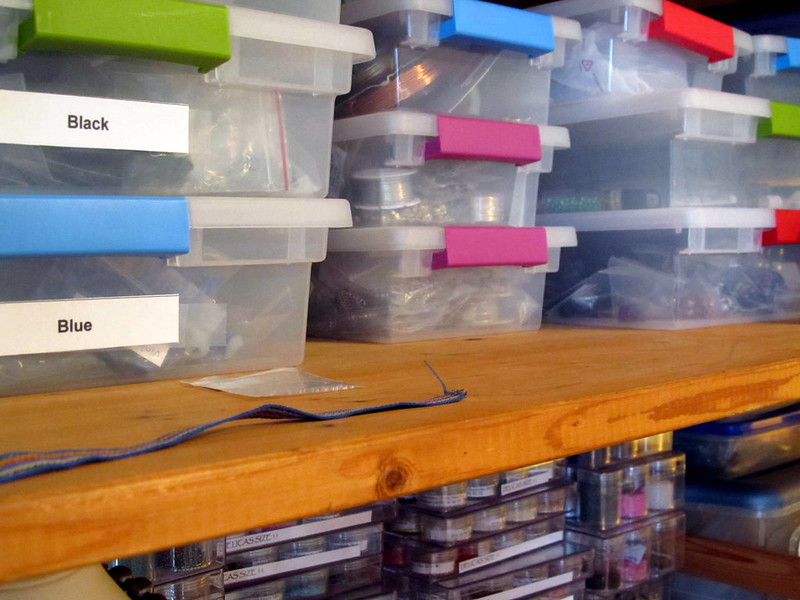
Seed beads
Large colored beads, wire, findings and unsorted seed beads
More large colored beads, a box of perals, and a box of small swarovski crystals
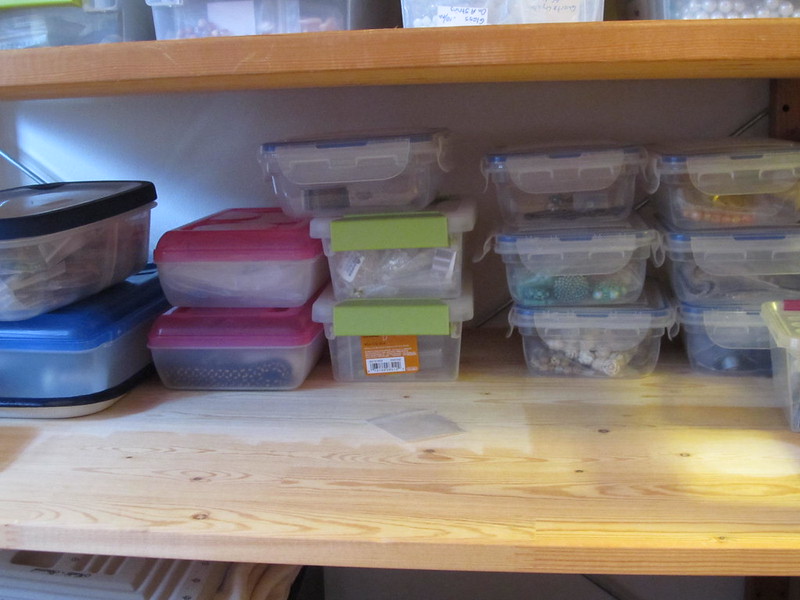
Project boxes

Sunday, December 4, 2011

How Do You Do It?

I have no idea of how all of those successful jewelry makers and bloggers manage to do it all.

I have a full time job, no children or significant other to take care of, and I just can't seem to find the time I need to organize which would free up time to create.

Week days are filled with the tasks of daily living and a full time job + commute time.  

Weekends are spent taking care of all the things I don't have time for during the week.

One of my weekend tasks is a visit to the delightful West Side Market. The market is a short train ride from my home and I try to visit every Saturday.  This indoor market features small vendors selling a plethora of good food. I buy my poultry from vendors who purchase from the local Amish population which makes me feel better about my main source of meat.  I buy all of my fresh produce at the same market. When I want bread, other than Einstein Brothers Bagels, I buy from one of the local bakers at the market.  What a great resource the market is.  This weekend, for $27.00 I got: a small Italian loaf of bread, 4 apples, 5 oranges, 2 types of onions, 3 red peppers, 1 banana pepper, 1 head of garlic, 3 tomatoes, 1 cucumber, 4 links of sausage, ohhh, and from the spice vendor an ounce of fennel seed and an ounce of cayenne pepper for some Christmas baking.  I am well blessed to have such a resource, even if it means I have to make an additional trip to a regular super market for canned goods, milk, and some packaged food.


I am still getting organized.  For every step forward I take one step backwards. I did a little bit of beading and now there just isn't a clear space to work.

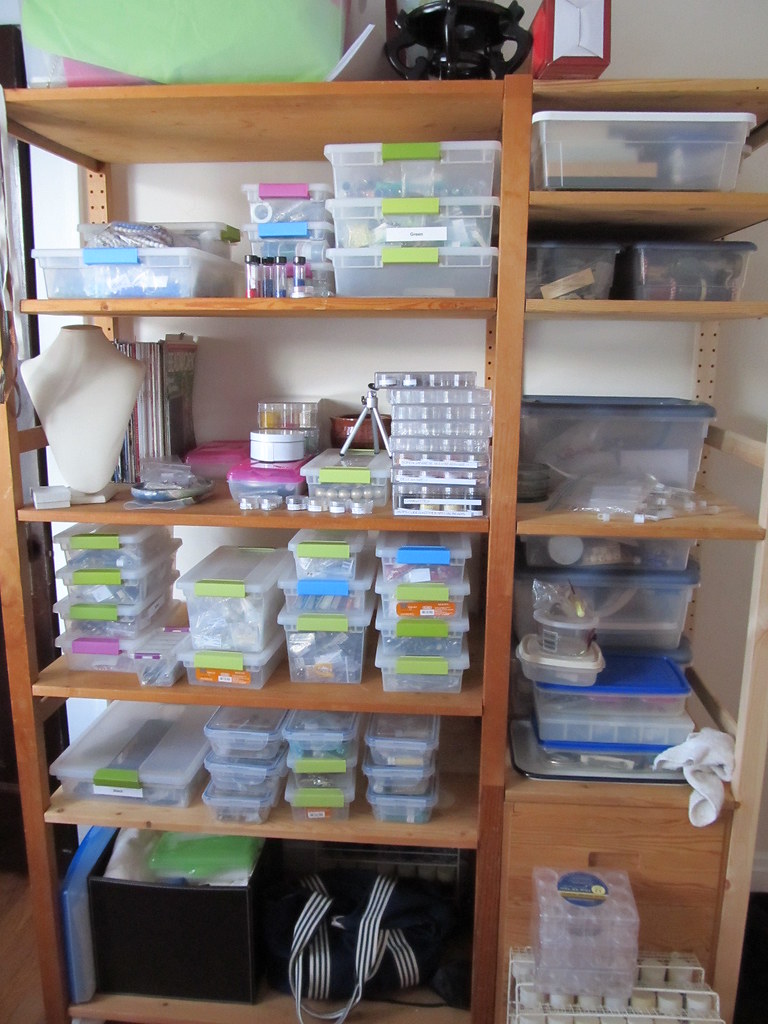
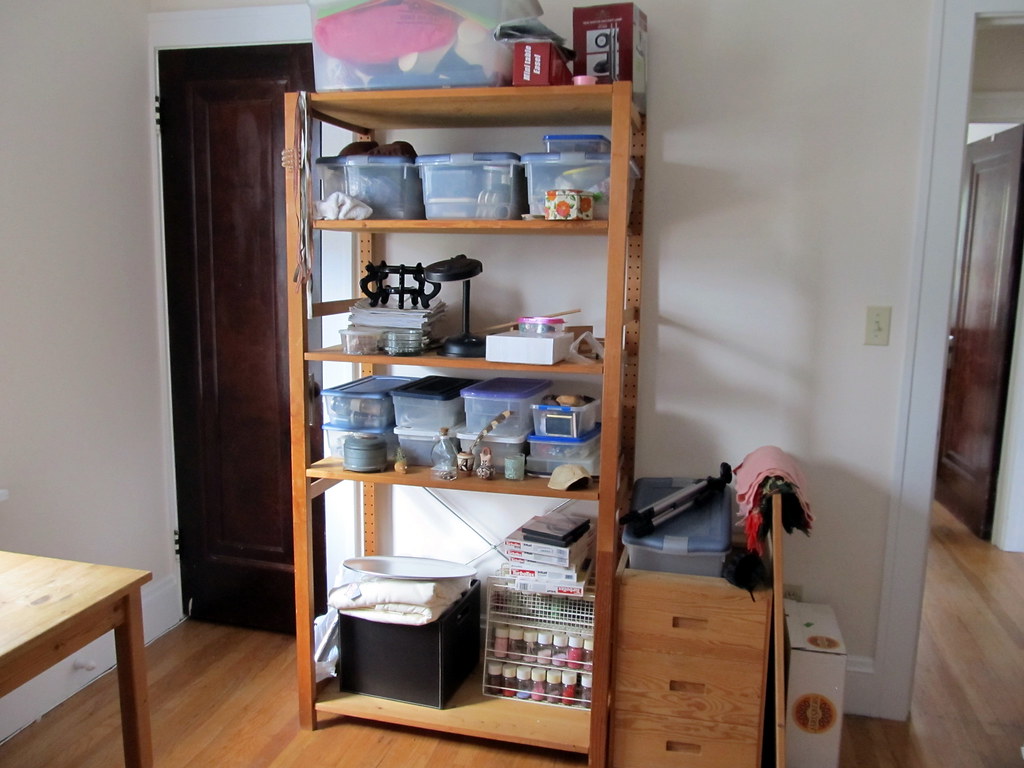
Actually, it only looks bad it would just be a matter of minutes to re-organize the mess to make work room.  The problem is I would just be moving the mess from one space to another to be cleaned up later.  Here is my bead storage- this includes display, packaging, photo storage as well as beads, findings, and a few other things bead related.


In addition to all of the above, I am trying to find time to scan boxes and boxes of documents so I can get rid of boxes and boxes of paper and cut down significantly on my storage needs.  I am also copying a box full of floppy discs to my computer.  Somehow I neglected to do that years ago and now I am have to make up for lost time.  

So how do you fit in work, commuting, exercise, cooking, laundry, cleaning, shopping, organizing, reading (a big downfall for me) and still find time to create, photograph, and blog? 

Sunday, October 2, 2011

Notes on How to Create Beaded Beads and a Personal Update


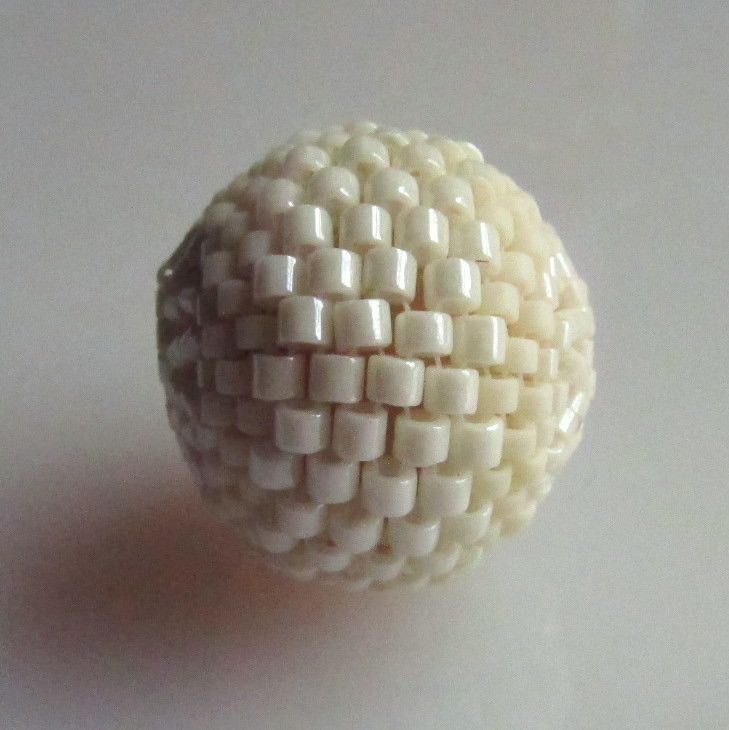
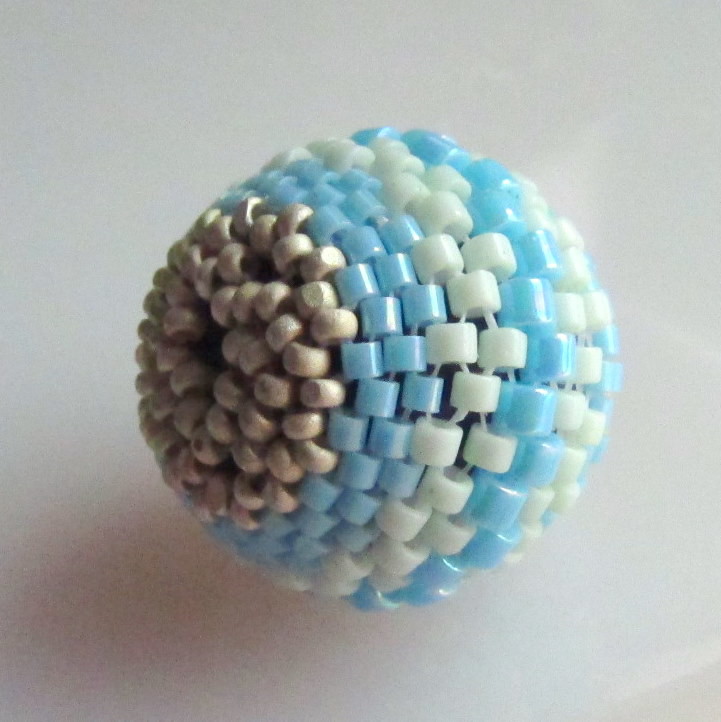
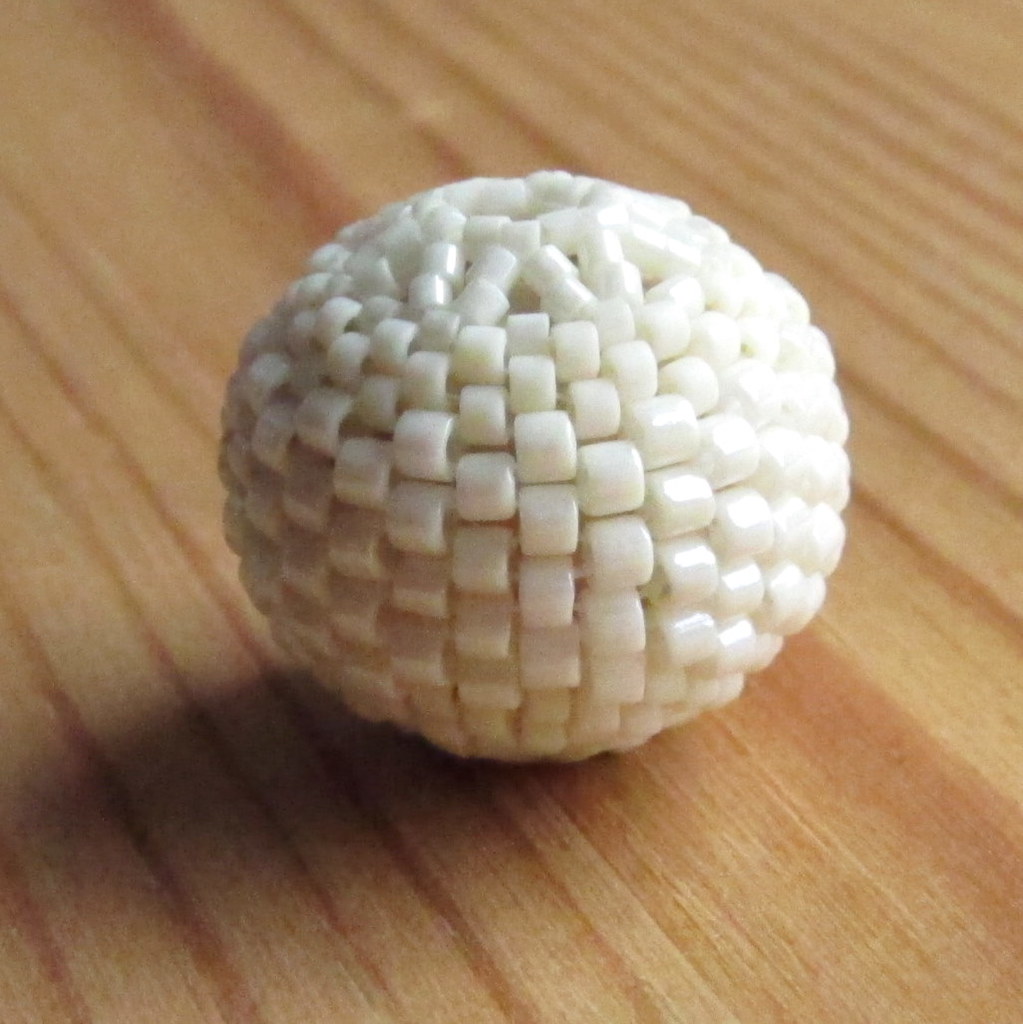
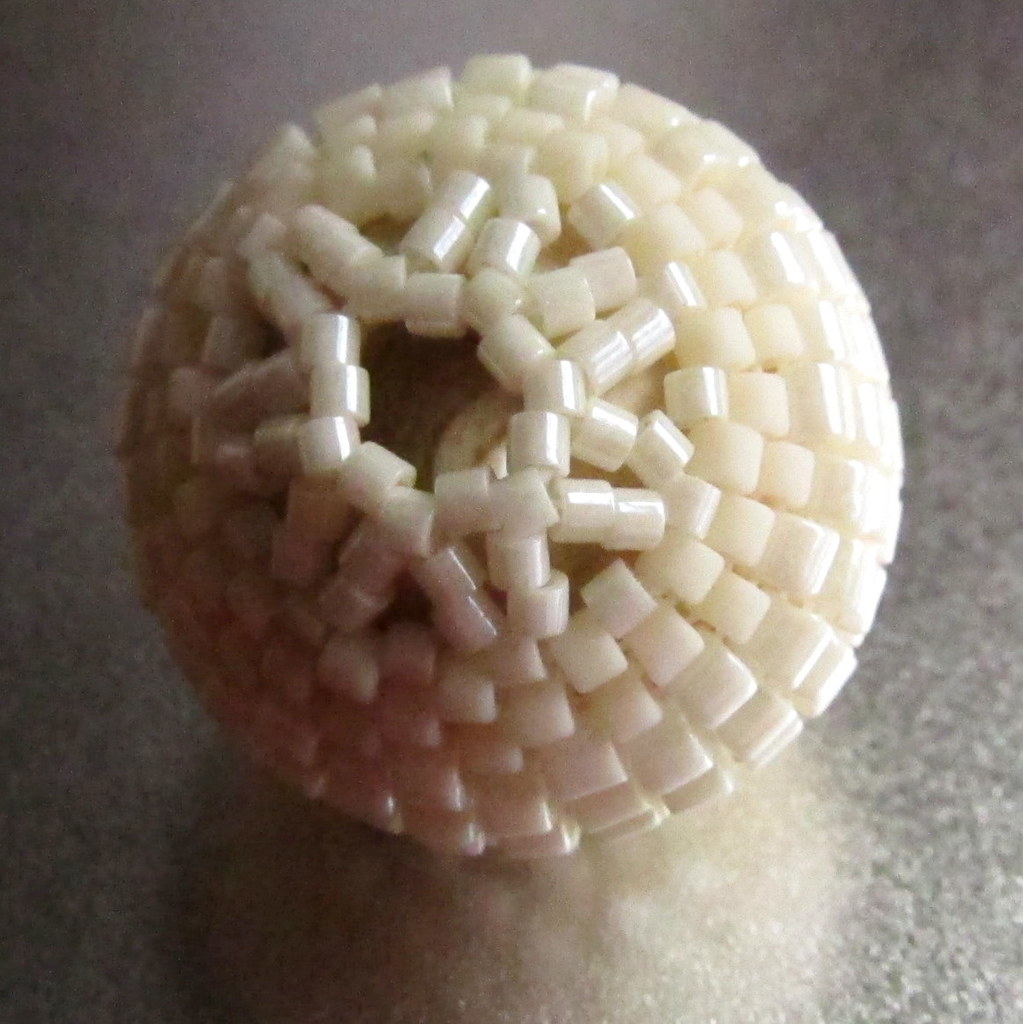
Many months ago Mandy of Beads for Brains and I exchanged e-mails bemoaning the fact that a simple round beaded bead made with Delicas never quite turned out to meet our high expectations.  It seems all my efforts showed too much thread, the underlying bead, or was slightly unbalanced.  I finally made a beaded bead that works.  


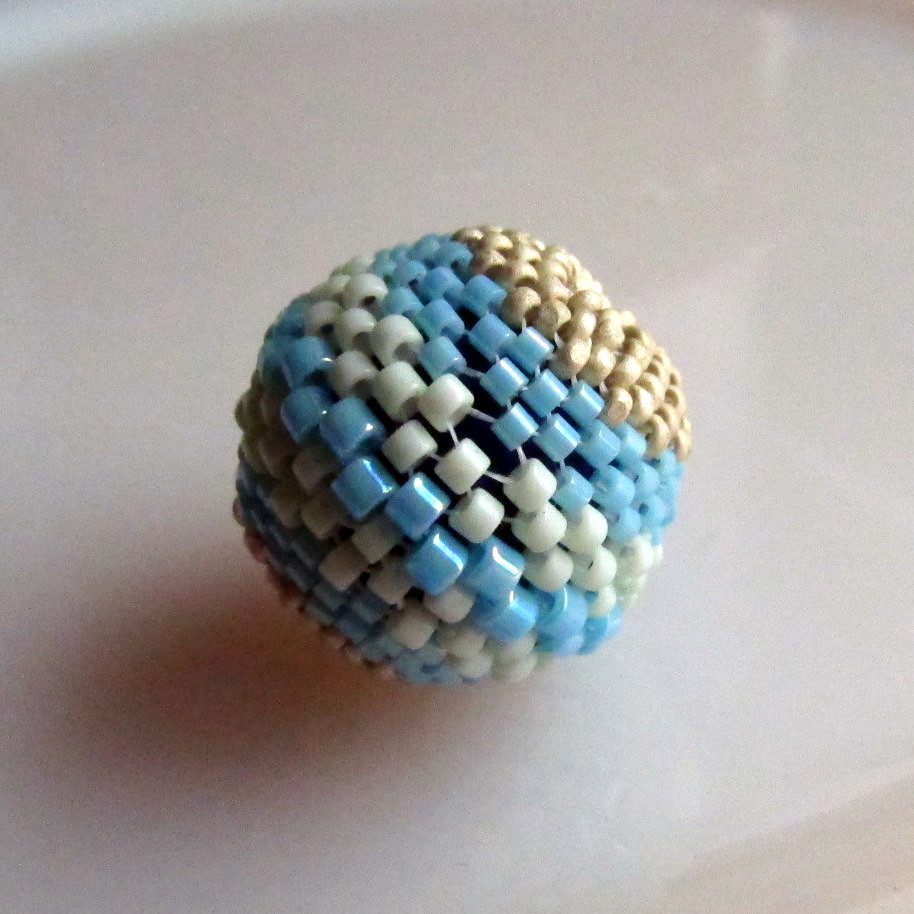
Here is one that doesn’t work- notice the thread and the bead on which it is woven?


Having pointed out why it is unsatisfactory, it is only fair that also tell you that beaders that I showed this bead to thought it was just fine.  Macro pictures show every slight flaw.  Here is a different view of the same bead:


Here are two other views of the beaded bead that worked:


I told Mandy I would share my notes when I found them during the process of unpacking.  These are notes, not a diagram.  If you are not familiar with peyote this is not going to be much help, if you know peyote this is what worked for me.

You will need:
  • a 5/8 inch wooden bead.  Available at Michaels
  • Delicas in sizes 10, 11, and 15
  • Needle, Fireline (or your preferred thread)

The Beginning:  Thread 29 size 10 Delicas and tie a knot creating a circle of beads.  The tail should be equal on both sides, with needles on both sides. 

Size 10 Rows:  Peyote 8 rows of size 10 Delicas; that is 4 rows on one side of that original circle (for future reference this is named the north side) and 4 rows on the other side (this named the south side.) 

Size 11 Rows:  Peyote 2 rows of size 11 Delicas on the north side and 1 row of size 11 Delicas on the south side of the beaded bead. 

Size 15 Rows:  Peyote 1 row of size 15 Delicas on the north side and 1 row of size 15 Delicas on the south side.

Netting Rows:  On the north side exit from a size 15 Delica, add 5 size 15 Delicas, skip a size 15 Delica from the final peyote row, and enter the next size 15 Delica from the final peyote row.  Rinse and repeat.  Assuming my counting is correct you should have 7 scallops.  Repeat on the south side.

Final Row:  On the north side exit through the middle (3rd) bead of the size 15 netting row, add a bead, and enter the 3rd bead of the next size 15 netting row, rinse and repeat.  When the circle is complete pull your thread tight and weave back through your bead work to tie your knot.  Repeat on the south side. 

I love this beaded bead, it is simple, it is clean, it is even, no threads show, and I really like the top and bottom.  As the top is netted you may want to try a trick I picked up on other blogs and use nail polish on your wooden bead prior to beading to give it a more finished look.  Maybe at some point in the future I will draw some diagrams.  Hopefully these notes will be enough for you to create your own unembellished and simple beaded bead.  If you decide to try out these directions, please let me know what your results were like.

You may recall I recently purchased a camera.  The pictures in this post were an exercise in learning about my new camera.  I am still on that steep learning curve and hope to post about how I chose my camera in the future.  The beaded bead pictures were done on different settings.  Thus, this blog post served two purposes: a commitment kept and a camera test.  The names of the pictures include my notes on the settings I used.

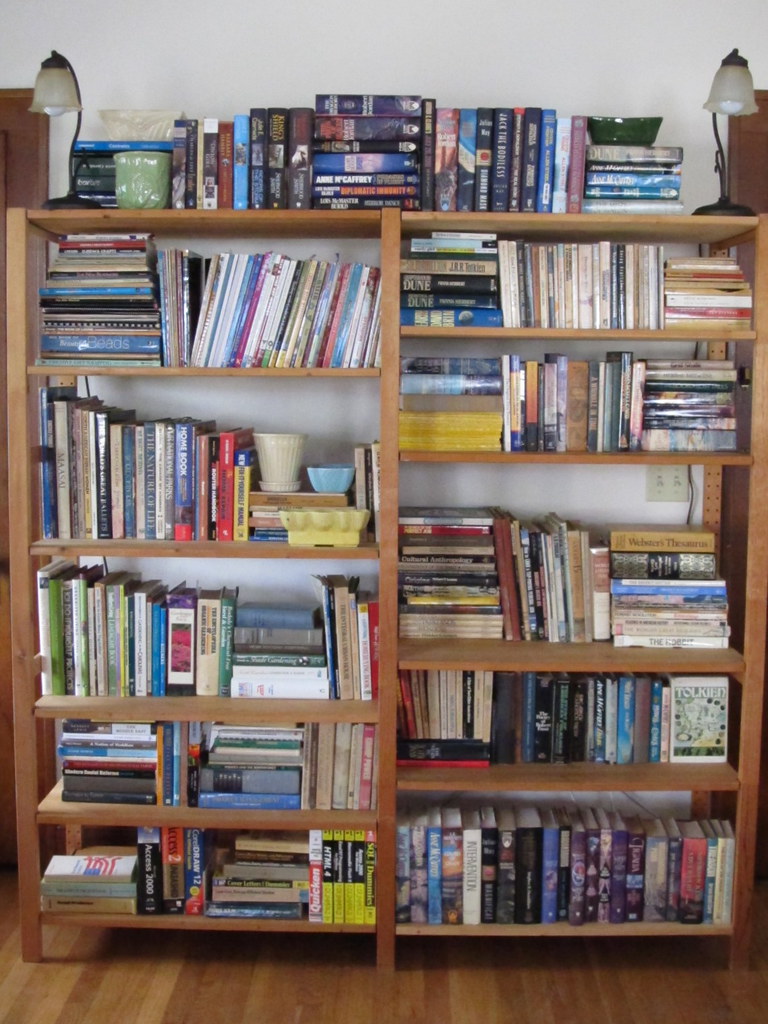
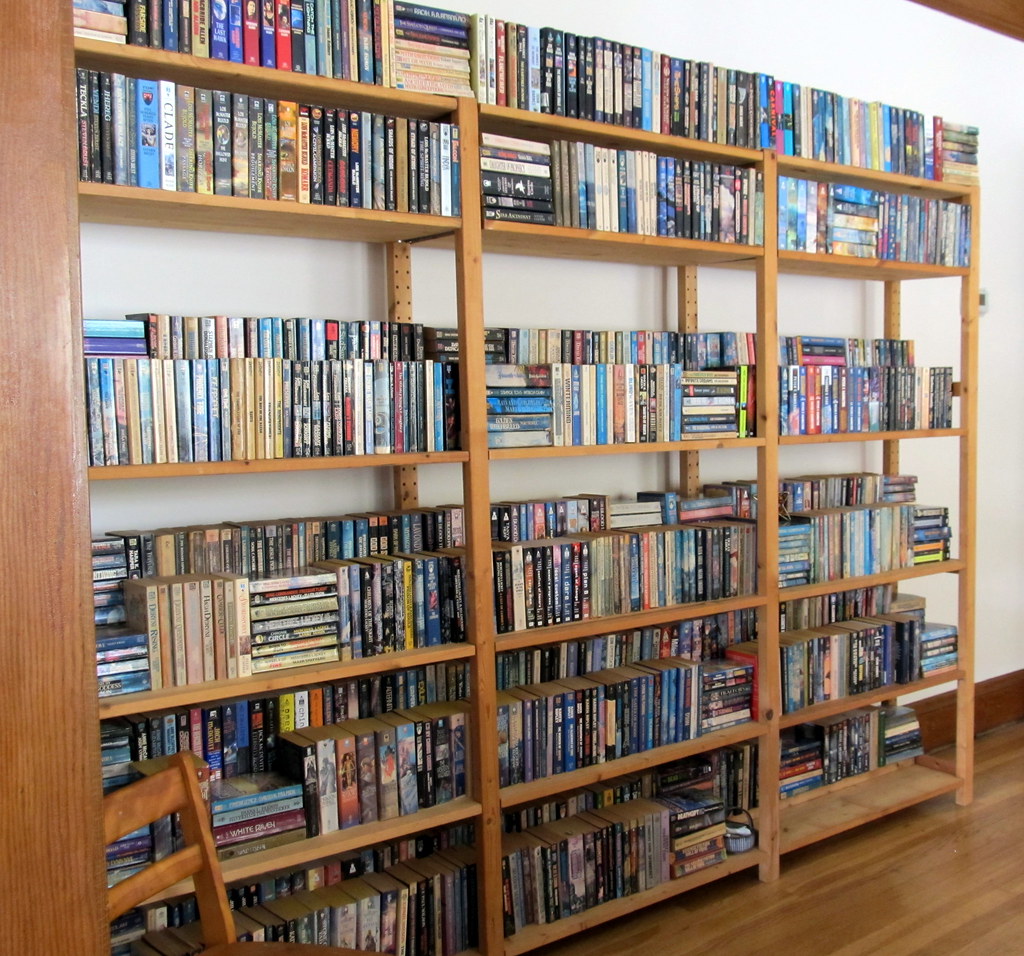
I moved this summer and had my furniture delivered in July.  I tell people I have finished unpacking; which strictly defined means I have opened all the boxes and created a large pile of things to be given away.  I have scanned all my hardback books into a spreadsheet so I know what I have.  I have also washed everything, including at least 24 curtains.  What I haven’t quite accomplished yet is getting the decorations out or my bead studio and table organized.  Also still on my to do list is scanning all my paperbacks and scanning the boxes of paper I have to my computer. 

To toot my horn about my accomplishments and to show you what needs to be completed here are a few more pictures- these were taken on the “easy” setting of my new camera.

The hardback books:


The paperback books:

My bead studio storage more is planned and necessary as these are not even my best beads:

My bead table- scattered with many things that don’t belong and a clean corner where I took my photos this morning.

Now, it is time to go and do some organizing.