Showing posts with label Turquoise Slab. Show all posts

Sunday, June 10, 2012

Rectangular Beaded Reducation Bar

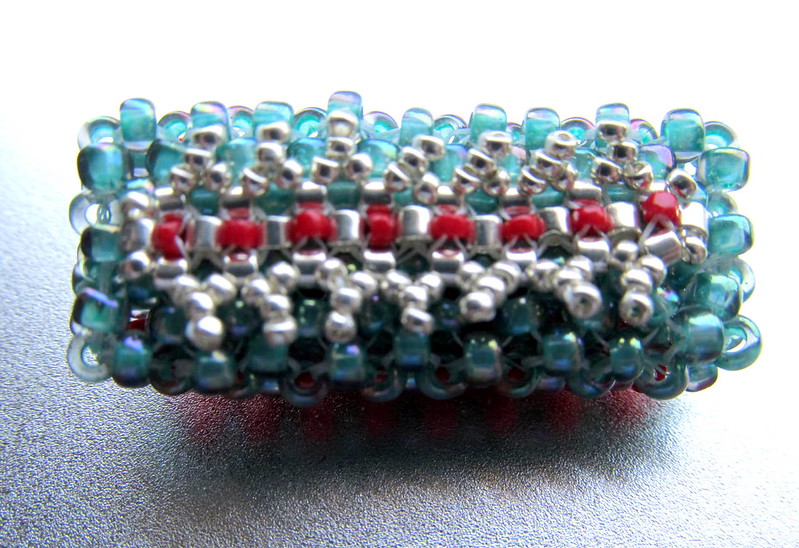
Last weekend I began creating the bar that will be used to reduce the three strands to a single strand in the turquoise slab necklace.  This weekend I finished the embellishments.  I am really pleased with this beaded bead. 

Here is a front view:
Beaded bead as reduction bar for turquoise slab necklace
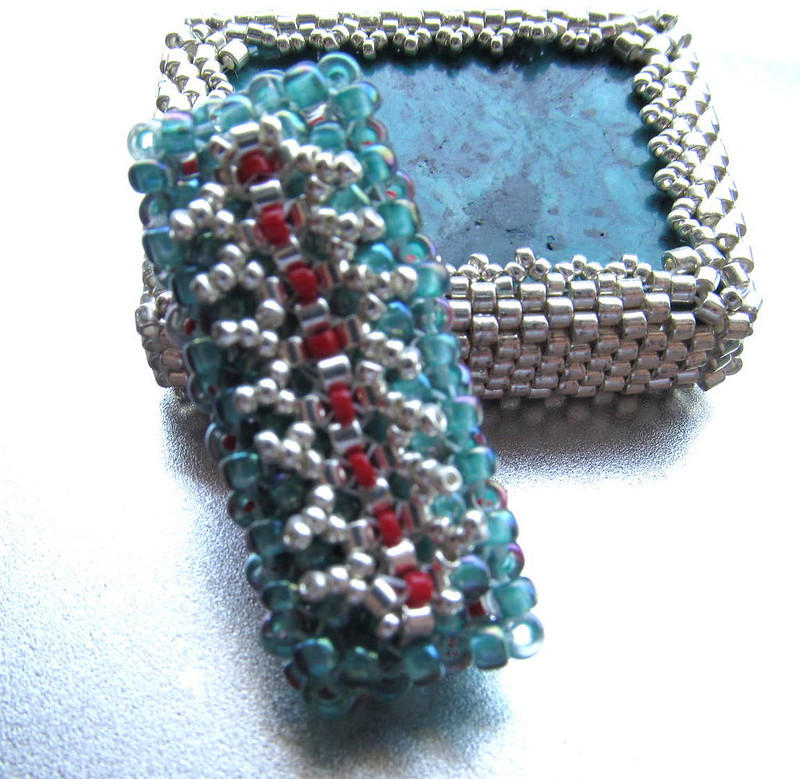
I wanted to make the back side pretty as well as accessible as an alternative look so I embellished the back side a bit differently:
Beaded bead as reduction bar for turquoise slab necklace
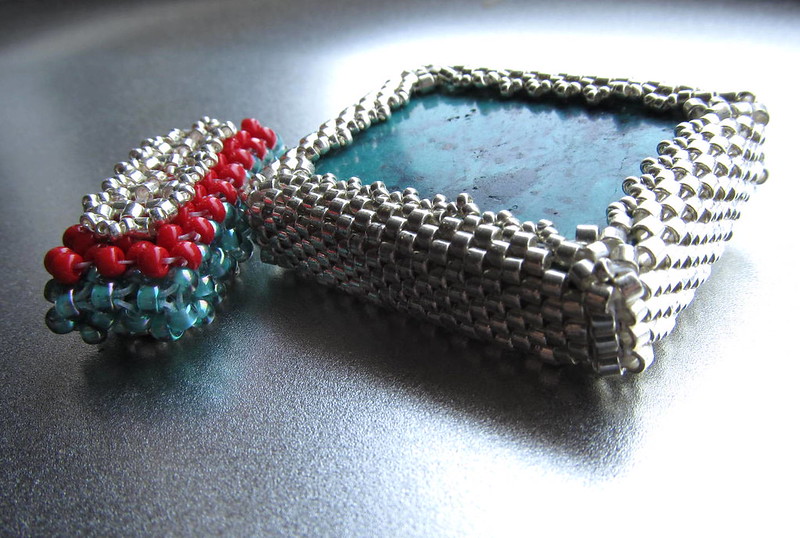
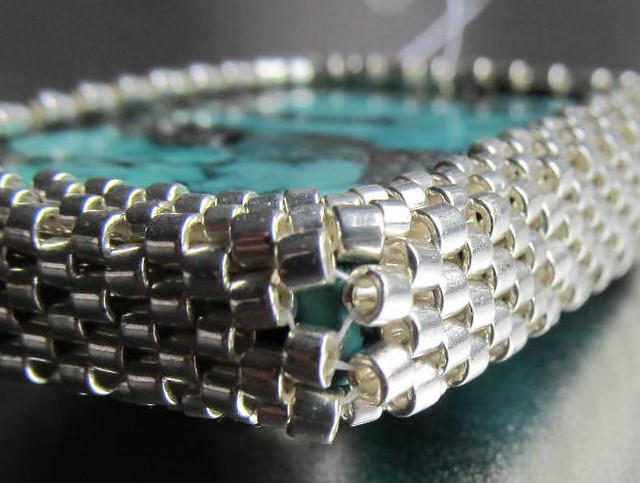
This beaded bead started out as a flat right angle weave out of 8/0 Turquoise AB Czech beads.  When I added the first layer of embellishment the bead work tightened and the long edges curled.  That was all the inspiration I needed to join the two edges with more right angle weave and another round of embellishment.  Here is a side view propped against the turquoise slab to give you an idea of proportion:
Side view beaded reduction bar with bezeled turquoise slab
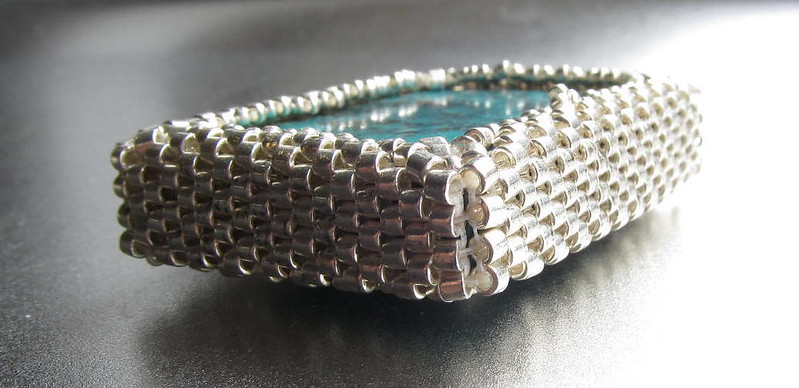
One more side view:
Side by side beaded reduction bar and turquoise slab
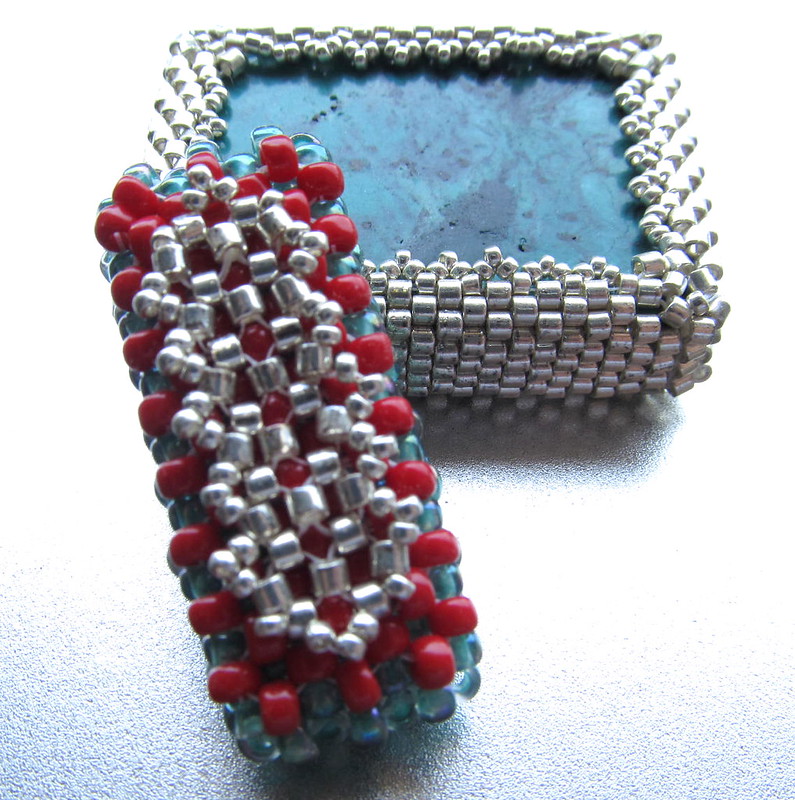
Because everyone loves pictures here is another view of the front with the bezeled turquoise slab:
Front of beaded reduction bar and bezeled turquoise slab
One more picture, this time the back of the beaded reduction bar and the bezeled turquoise slab:
Back of beaded reduction bar and bezeled turquoise slab
As I said above, I am happy with the beaded bead.  I had many pass throughs, so the closeups show the fireline thread.  They will not catch attention once this is a part of the necklace.

As to the necklace, I still need to complete the neck strap.  I have not decided between my favorite, tubular peyote or tubular herringbone.  The peyote will be stronger but not as fluid.  I think I am going to opt for the fluid.  If you have a suggestion, I am all ears.  I need to make some bead caps- now if I can just find that piece of pattern that I use.  Finally, I need to make the toggle.  It is all simple weaving and assembly from here on in. 

Sunday, May 27, 2012

Third Times The Charm

Are you your own worst critic?  Do you see all the tiny flaws? 

After the first attempt at bezeling the turquoise slab using a single thread technique I had a really ugly corner with large gaps.  Not only was it ugly but it also did not bode well for longevity.  Exposed threads pulled that tight are more likely to snap.
Stretched corner on bezeled slab turquoise
On the second attempt, I used the same technique but added an additional bead making the bezel looser. The corner was better, but still not up to my standards.  The bottom two were done in the single thread technique.
Corner views of bezeled turquoise slab.
I decided to go with a technique using multiple pieces that I learned from Melanie Doerman.  I do not buy many tutorials.  I saw this bracelet in the Summer 2009 issue of Belle Amoire Jewelry and contacted Melanie before it was even in her store. 
Belle Amore Summer 2009, Fragments by Melanie Doerman

In preparing this post I made a visit to Melanie's website, The Magpie, and there learned of her recent death.  It is a loss to the beading world and I will miss her talent.

Using a slight variation on her technique, the worst corner on my turquoise slab looks like this:
Corner view bezeled turquoise slab

From the front it looks like this:
Bezeled turquoise slab, at last.

Here are a few more pictures:
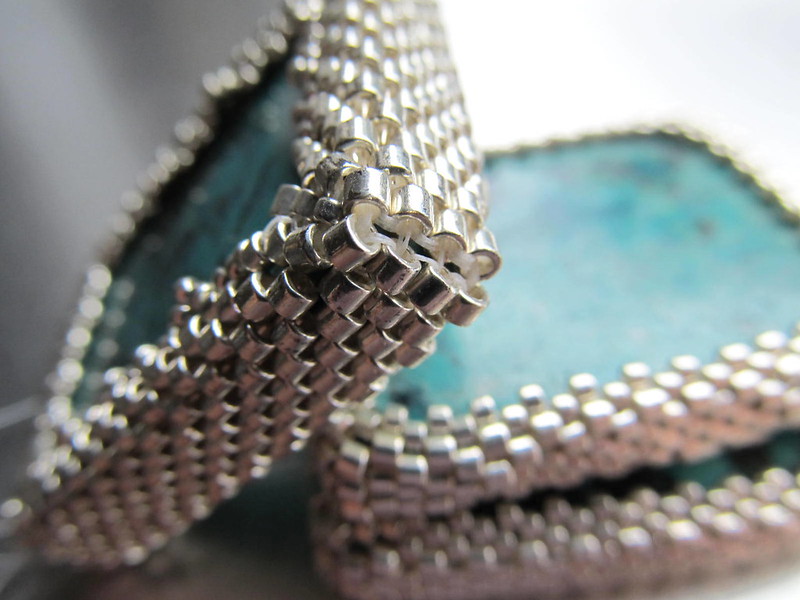
Close up corner view, stacked turquoise slabs

A tangle of threads- bezeled turquoise slab in progress
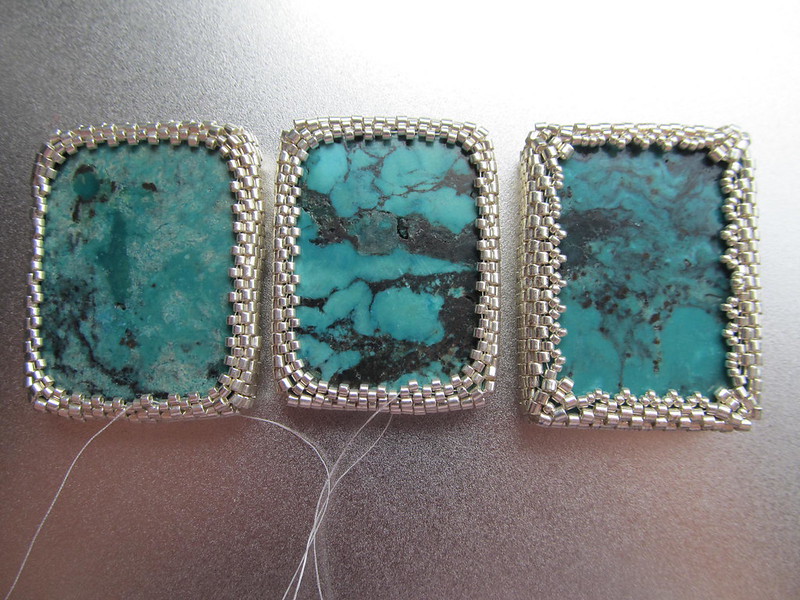
Three tries at bezeling the turquoise slab.
You can see the final bezeled turquoise slab on the right, above.  The corners are sharper.  Although the end piece looks thicker and longer all three slabs are close to the same size.  I considered using Melanie's technique when I started but  opted for the more simple technique.  Next time I will know.

Sunday, April 8, 2012

Another Lesson Learned

First a progress report on the Turquoise Slab Necklace. 

The third strand is going to be, in part, beaded beads.   I am leaning toward wire wrapped loops to connect them rather than stringing them. 

I don’t think I want it all beaded beads, or at least not all silver beaded beads.  I may create a green turquoise beaded bead and a red coral beaded bead and see how those turn out.

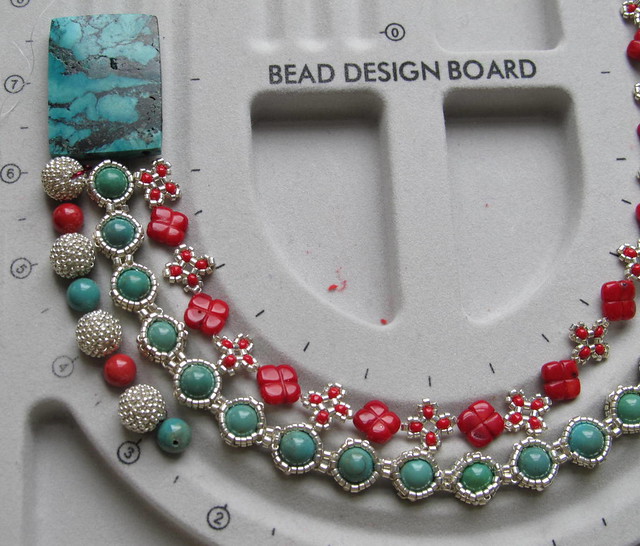
For the moment I have placed a coral and turquoise bead between each silver beaded bead.  The next design choice is whether or not to leave the coral clover strand on the bottom.  Here are some pictures.


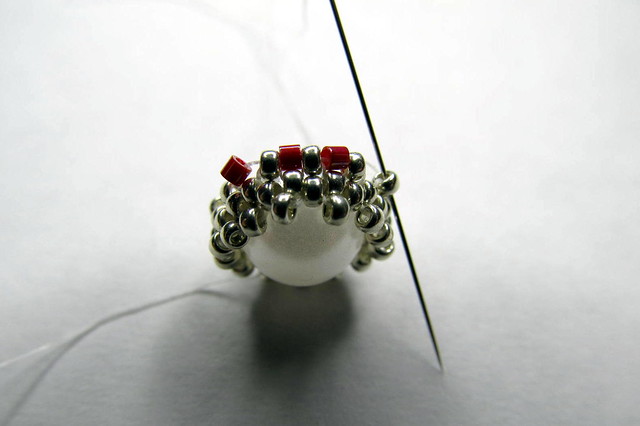
Now for the lessons learned.  I thought I would create step by step photos for a 8 mm beaded bead as that is what I am using on this necklace.  I started with the Japanese seed beads I am actually using, but the contrast was not enough for instructions.  I added some size 15 delica beads for step two and was shocked at the difference in size.


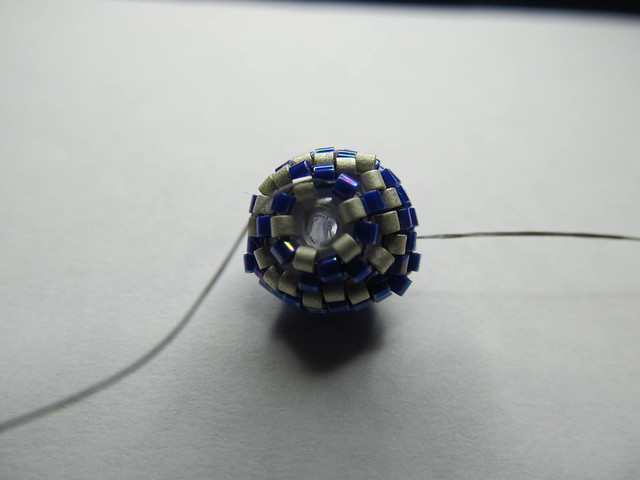
Because I wanted to create the step by step pictorial I changed to all delica beads.  However, when using a 8 mm base, even the size 15 delica beads do not lie smoothly, they do not flow and they do not nestle next to each other.  The uniform size and the hard edges do not work, or at least they did not work for me.  Here is the finished beaded bead, what do you think?


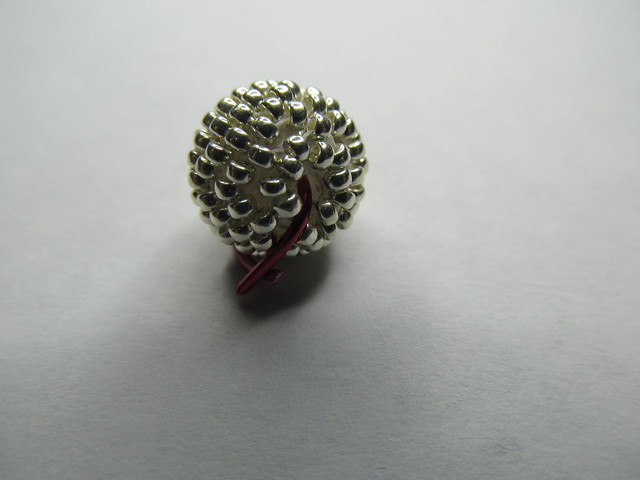
For comparison, here is the 8 mm bead with 15/0 Japanese seed beads.  (Ignore the magenta wire, which is a place holder.)

Sunday, February 26, 2012

Making Progress, or Not

I have a list of notes for blog post ideas, one of which is the value of scissors.  If you have been following along, you know that I tried various designs before I settled on the red coral clover chain that I showed last week.  This week I started on the turquoise chain.  This did not require nearly so much testing, and what testing I did I did not photograph.  However, I was not paying attention and ended up with errors:
The error of my ways
I misconnected (yes, I know that is not a word) one connector and skipped another.  I have an excuse, I have a cold and my brain isn't functioning.  So, instead of scissors I tore out the last three links. 

I ended up with this:
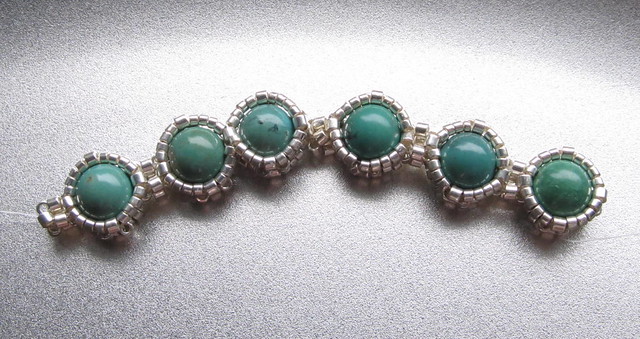
Turquoise chain
I am happy with this, mostly.  It is not as elegant as my inspiration from the Elizabeth I Cuff Bracelet by the Peregrine Beader.  I am okay with that, because this is not an elegant necklace. 

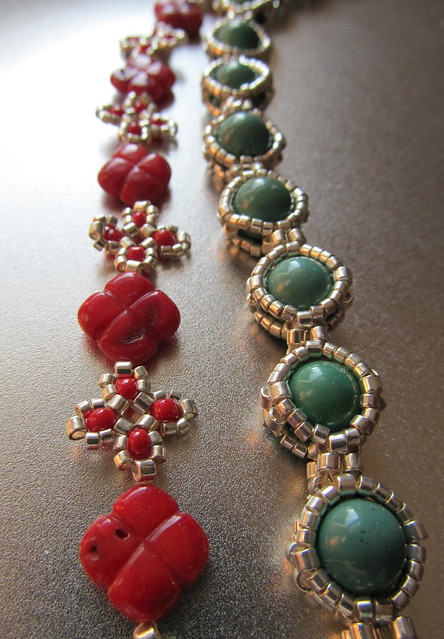
This turquoise chain will be paired with the red coral clover chain I showed off last week:
Red coral clover chain and turquoise chain side by side
In turn, these will be paired with my inspiration, a slab of turquoise:
Turquoise and two chains
The design is beginning to take shape:
Turquoise Slab Necklace layout
This week we will have a February 29th enjoy your leap day.

Sunday, February 19, 2012

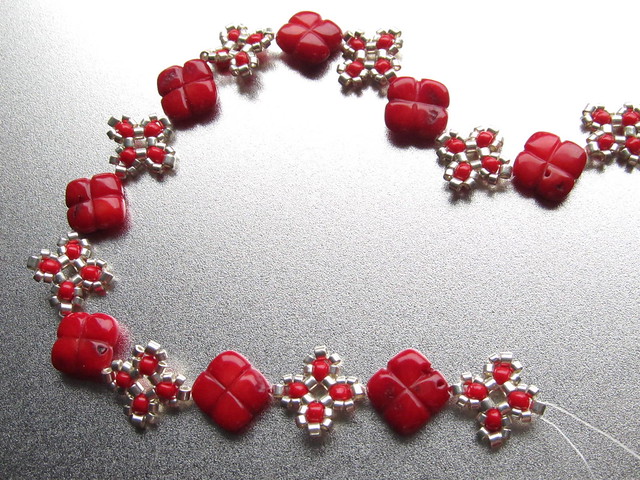
Clover Chain

It takes about 8 to 10 minutes to make each clover.  I have 13 clovers. 

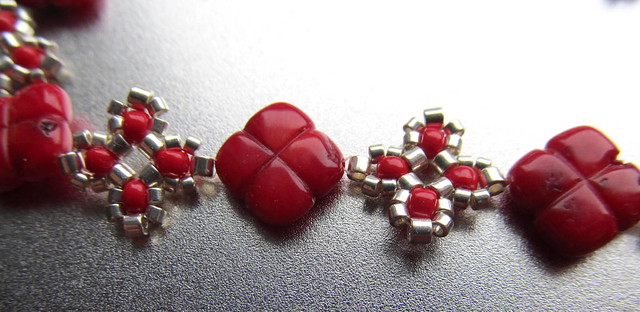
Clover Chain

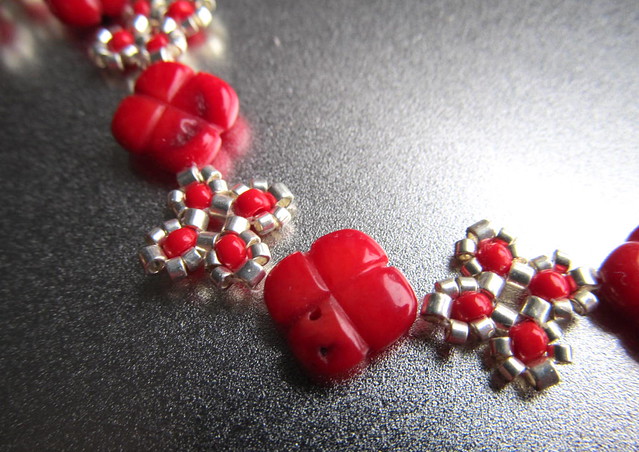
I am happy with the way this turned out.  The thread is only visible under a magnifier.

Clover Chain up close

 It lies nicely. 

(Thank goodness for grammar check.  My Mom has tried to teach me the rule for lay, lie, laid but it just does not stick.)

It did take quite a few hours to string the chain together.  In order to minimize the thread and have the bead butt up against the coral bead I needed to employ a two needle technique.  One needle just did not work.

Most of the Coral and Clover chain
Next I need to work on chain two for the turquoise slab necklace.