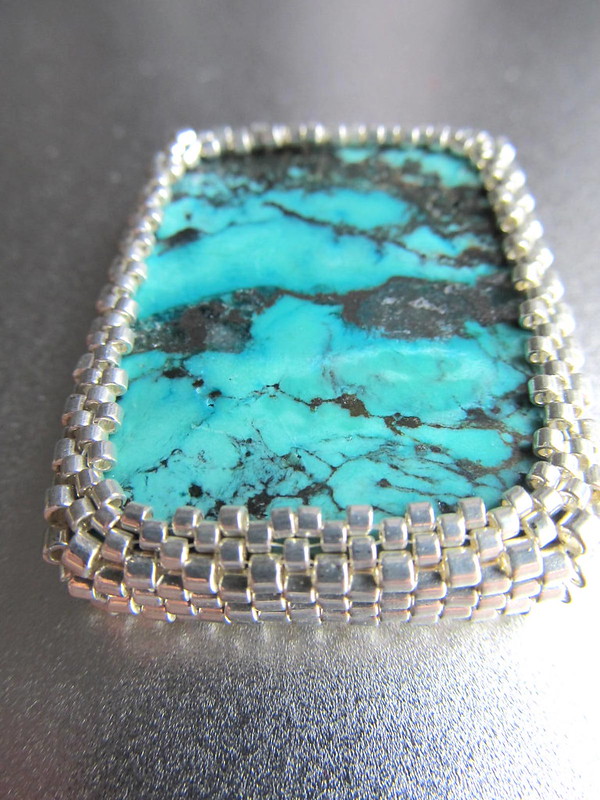
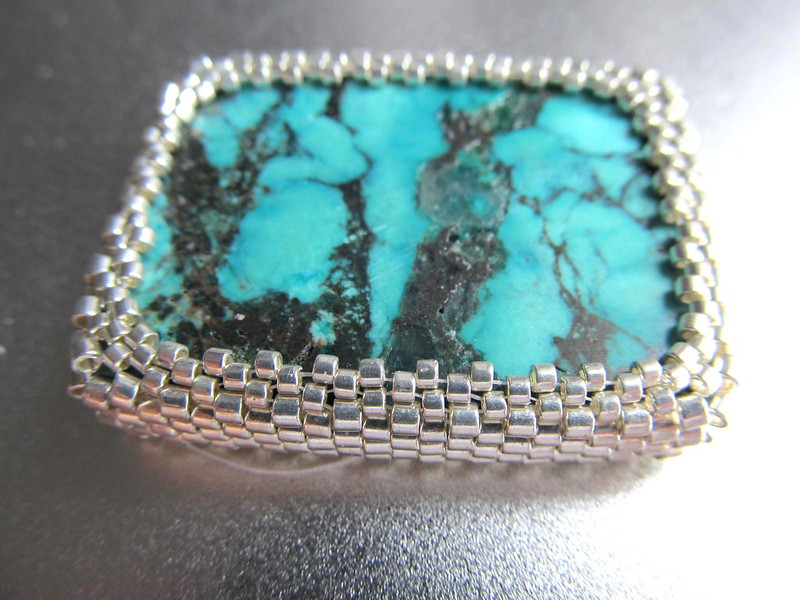
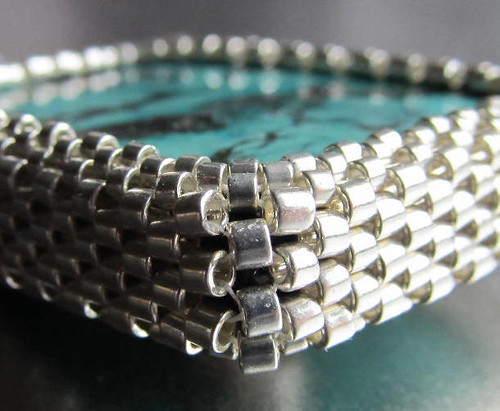
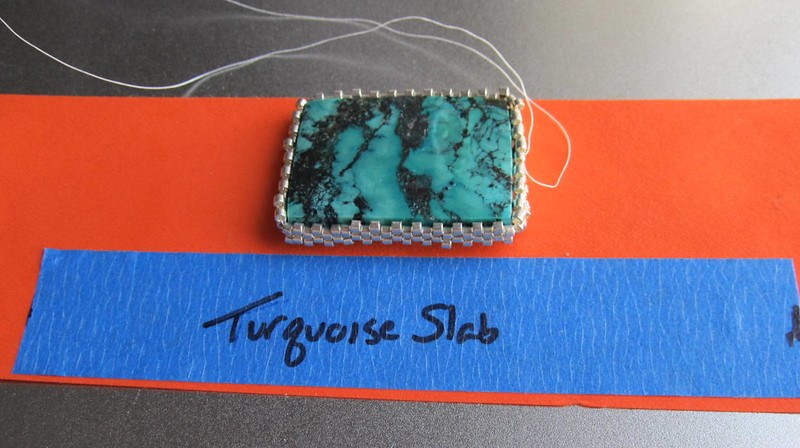
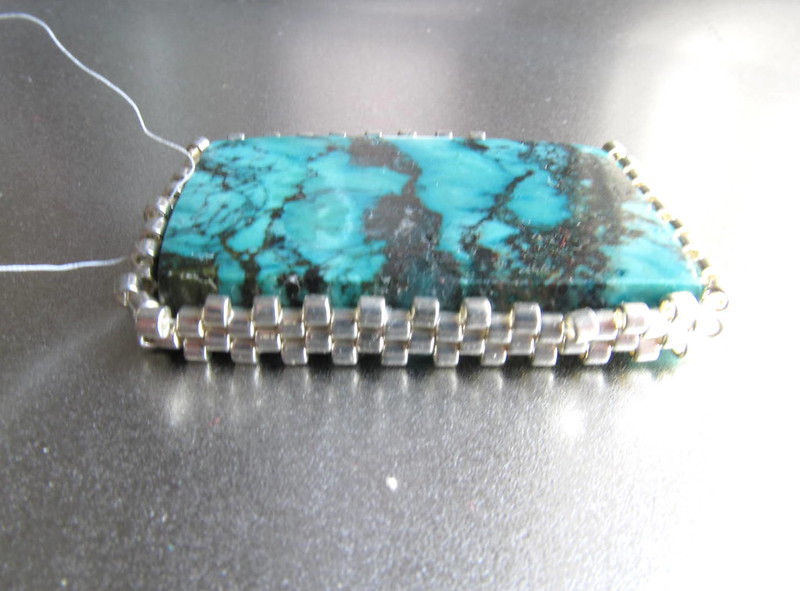
I will not be finished with the turquoise slab necklace with enough daylight left to take a picture. The finished project will be featured next week- I promise myself.
In the meanwhile for those needing a way to organize projects check out the new bento boxes by Rubbermaid available at Target or at Amazon. Amazon has them in red!
I had been walking by this box at Target for weeks and finally broke down and bought it. It has the ingenious pull out dividers that can turn an open box into 4 separate storage areas, or 1 small square segregated from a larger storage space. Here is a picture of the medium box filled with goodies for my current project:
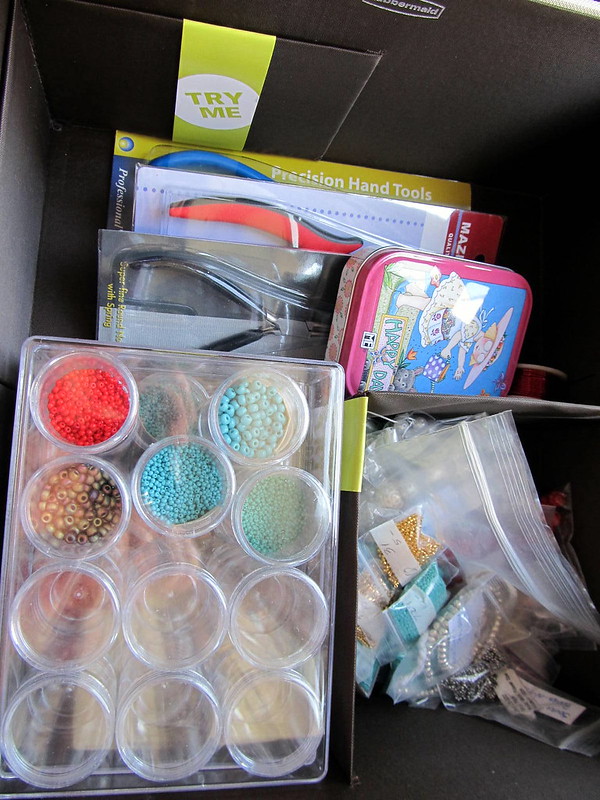
The "Try Me" sleeve is on the flexible divider. You can see the other sleeve pulled out to act as a divider with the bag of gold seed beads in the bottom right hand corner of the picture.
When I start a project I go through my stash and pull out everything that I might use and toss it into a project box. You can see I have a few red seed beads, several versions of turquoise seed beads, more tools than I needed, gold beads (those were a new purchase not for this project) sterling beads, and whatever else struck my fancy.
Click on the pictures for a larger view.
Now, this box probably would not have caught my attention nearly so well had it not been for the tray which sits inside the box. Below is a picture of the tray sitting askew atop the medium box.
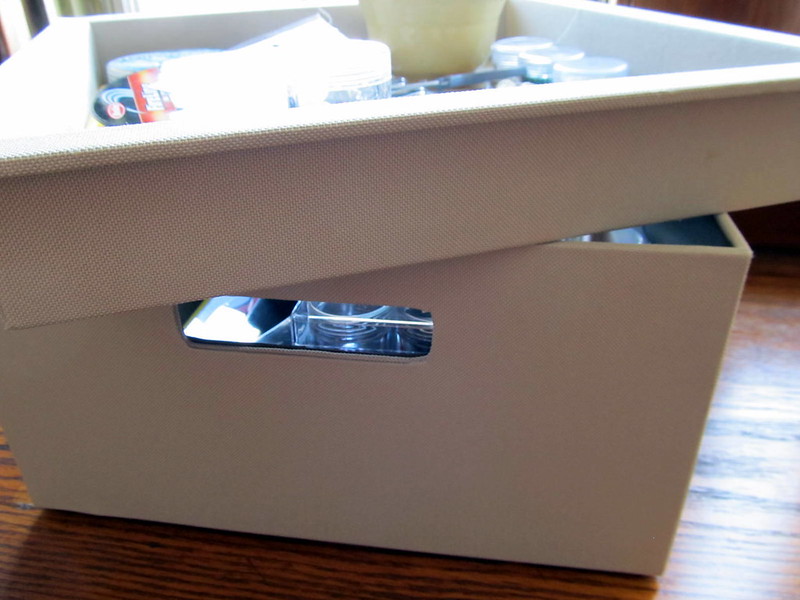
The tray comes at an additional price.
The tray contains what I am actually using to work on my current project- Fireline, seed beads, triangular bead trays (with beeswax, a needle or two, and beaded beads which will be used in the future.) There are a few tools which I used in making the wire wrapped component of the middle strand. Buried under the scissors is a coil of German silver, which I also used for the wire wrapped middle strand. A bag of turquoise rounds, coral rounds, and the coral squares I used. More seed beads outside of the storage tray. The silver seed beads are 15's, 11's, and 10's. An old tin which contains more needles and a few more odds and ends. Scissors and hemostats. Pen and pencil because notes are sometimes required. That yellow bowl in the top right corner is my garbage bowl. The garbage bowl gets snips of thread, gum wrappers, sticky tags, wire ends, and other small goodies.
This box is great if you move from room to room or place to place with your project.
See you next week.
Sunday, June 24, 2012
Sunday, June 17, 2012
MIscalculation
Yes, miscalculation. 20 grams of size 10 galvanized silver beads was not quite enough to complete the neckstrap for the turquoise slab necklace.
Here is a useful hint for those of you who move from place to place with unfinished beadwoven projects: use those empty tubes to store your threaded needle to avoid finger pricks and tangles. Just wrap the thread around your fingers, just like you would an electrical cord, pinch it next to the needle and slide it into the tube and cap.
I did make some progress:
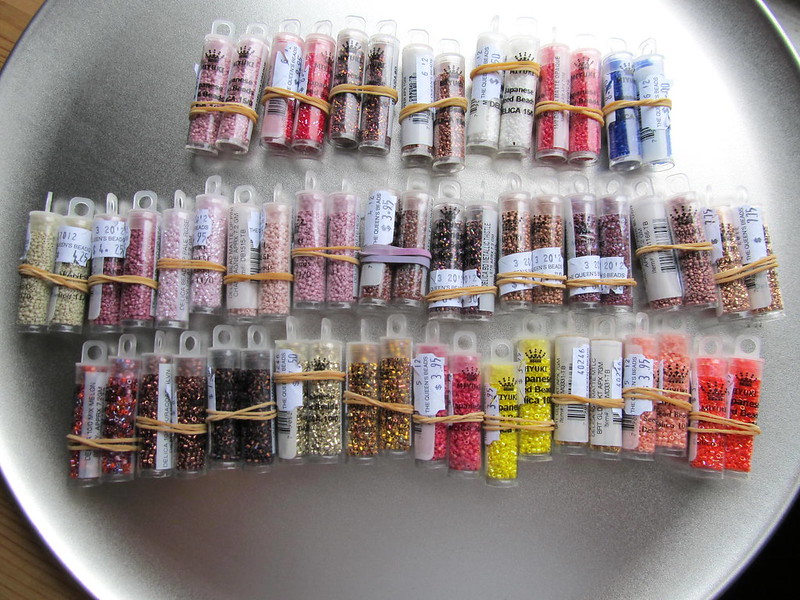
I have two buying addictions: books and beads. I will never ever have enough books. I might just have enough beads. I have been getting much better at resisting temptation. Yesterday, however, I purchased many many tubes of Delica beads at the Intergalactic Bead Show. Should you find yourself at this show I highly recommend The Queen's Beads- her selection is fine and the prices cannot be beat. Here is what I picked up:
The beads were laid out on my favorite dull reflective backdrop- a pizza pan. I almost cropped the picture so it would not be quite so obvious. I really like to use the pizza pan for my backdrop. It is slightly reflective so I get a bit of extra light; it has a pebbled finish so you do not get a reflection of the camera.
Despite my haul, the vendor did not have the beads I needed, so I still need to place a mail order from my favorite Delica vendor: Painters Beads.
| Herringbone Strap In Progress |
Here is a useful hint for those of you who move from place to place with unfinished beadwoven projects: use those empty tubes to store your threaded needle to avoid finger pricks and tangles. Just wrap the thread around your fingers, just like you would an electrical cord, pinch it next to the needle and slide it into the tube and cap.
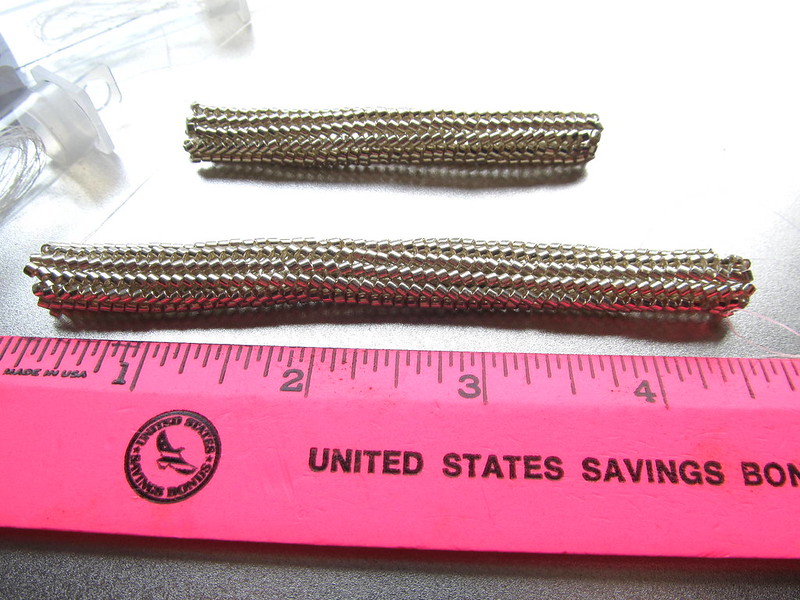
I did make some progress:
| Measured progress |
| Delica haul: top size 15, middle size 11, bottom size 10 |
Despite my haul, the vendor did not have the beads I needed, so I still need to place a mail order from my favorite Delica vendor: Painters Beads.
Sunday, June 10, 2012
Rectangular Beaded Reducation Bar
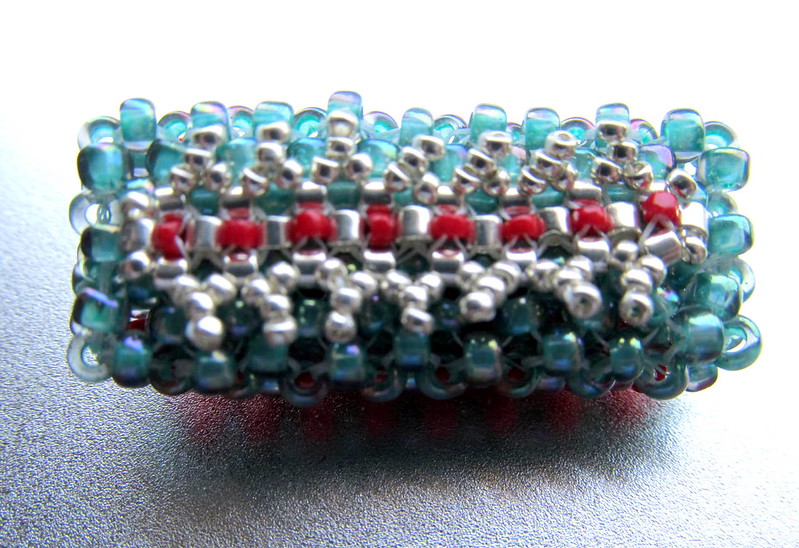
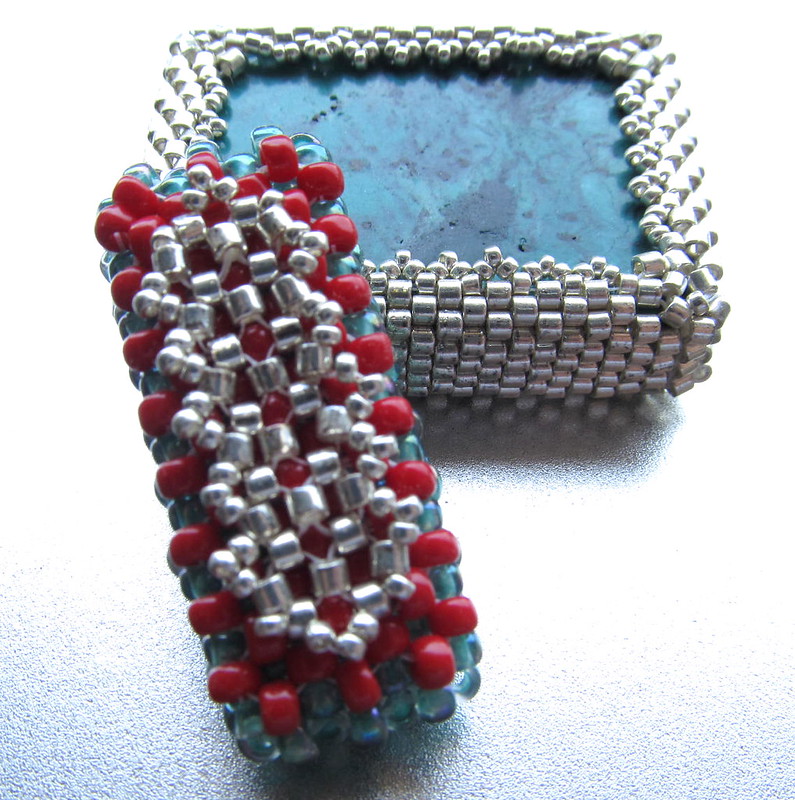
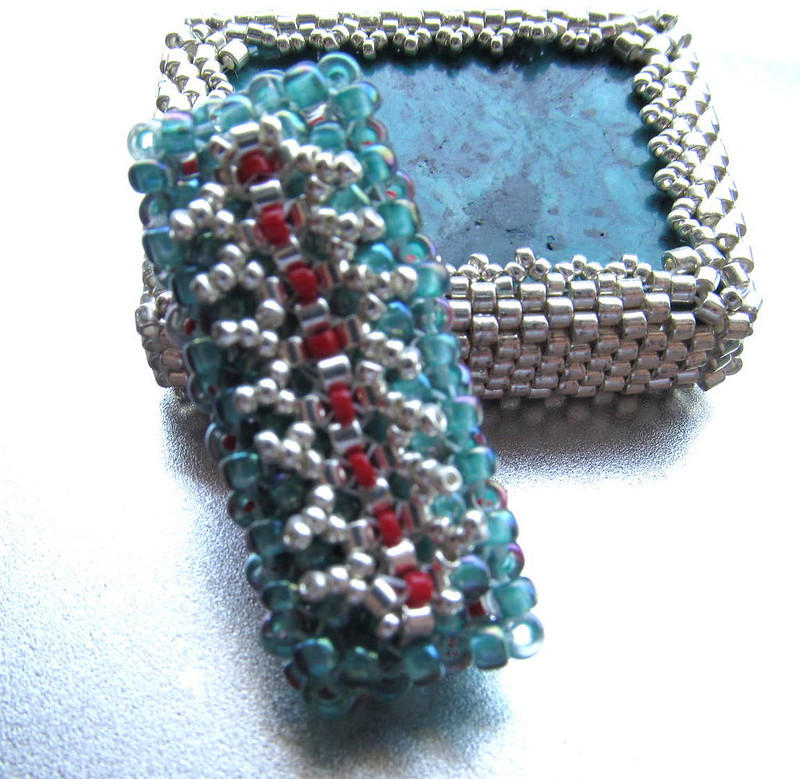
Last weekend I began creating the bar that will be used to reduce the three strands to a single strand in the turquoise slab necklace. This weekend I finished the embellishments. I am really pleased with this beaded bead.
Here is a front view:
I wanted to make the back side pretty as well as accessible as an alternative look so I embellished the back side a bit differently:
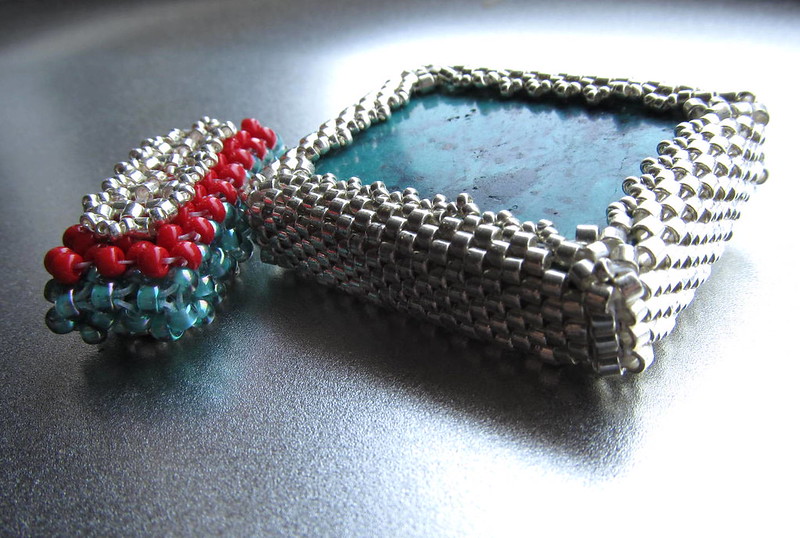
This beaded bead started out as a flat right angle weave out of 8/0 Turquoise AB Czech beads. When I added the first layer of embellishment the bead work tightened and the long edges curled. That was all the inspiration I needed to join the two edges with more right angle weave and another round of embellishment. Here is a side view propped against the turquoise slab to give you an idea of proportion:
One more side view:
Because everyone loves pictures here is another view of the front with the bezeled turquoise slab:
One more picture, this time the back of the beaded reduction bar and the bezeled turquoise slab:
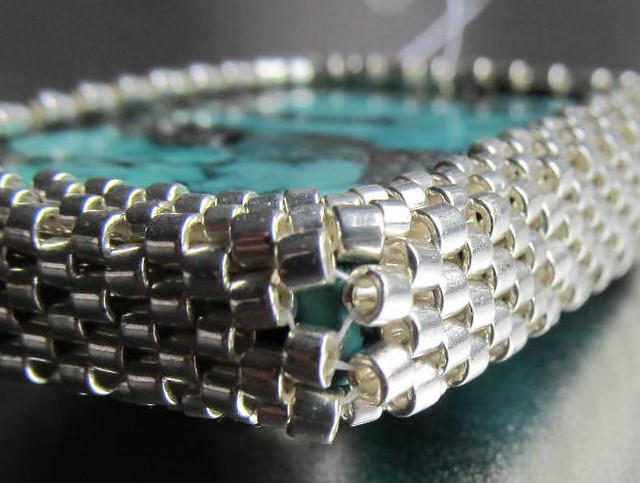
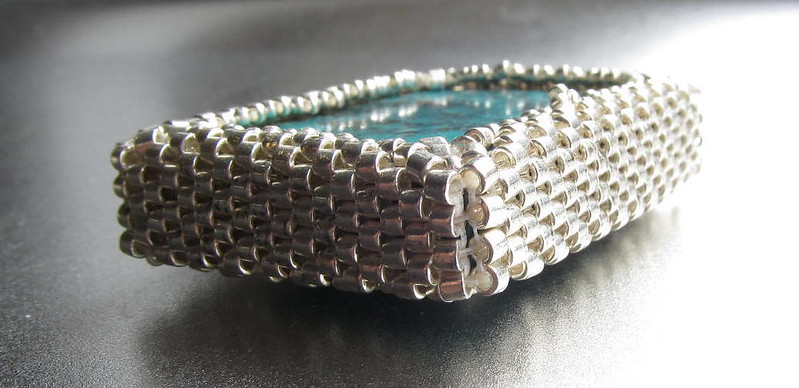
As I said above, I am happy with the beaded bead. I had many pass throughs, so the closeups show the fireline thread. They will not catch attention once this is a part of the necklace.
As to the necklace, I still need to complete the neck strap. I have not decided between my favorite, tubular peyote or tubular herringbone. The peyote will be stronger but not as fluid. I think I am going to opt for the fluid. If you have a suggestion, I am all ears. I need to make some bead caps- now if I can just find that piece of pattern that I use. Finally, I need to make the toggle. It is all simple weaving and assembly from here on in.
Here is a front view:
| Beaded bead as reduction bar for turquoise slab necklace |
| Beaded bead as reduction bar for turquoise slab necklace |
| Side view beaded reduction bar with bezeled turquoise slab |
| Side by side beaded reduction bar and turquoise slab |
| Front of beaded reduction bar and bezeled turquoise slab |
| Back of beaded reduction bar and bezeled turquoise slab |
As to the necklace, I still need to complete the neck strap. I have not decided between my favorite, tubular peyote or tubular herringbone. The peyote will be stronger but not as fluid. I think I am going to opt for the fluid. If you have a suggestion, I am all ears. I need to make some bead caps- now if I can just find that piece of pattern that I use. Finally, I need to make the toggle. It is all simple weaving and assembly from here on in.
Sunday, May 27, 2012
Third Times The Charm
Are you your own worst critic? Do you see all the tiny flaws?
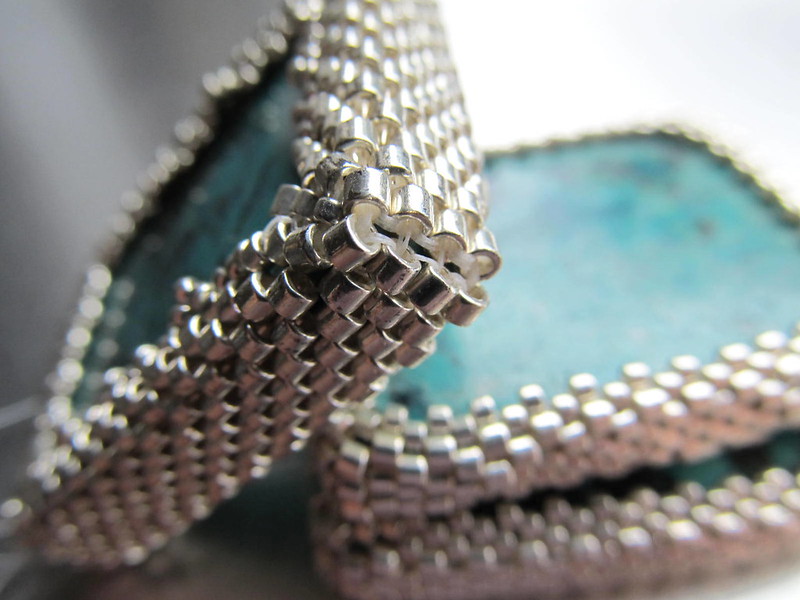
After the first attempt at bezeling the turquoise slab using a single thread technique I had a really ugly corner with large gaps. Not only was it ugly but it also did not bode well for longevity. Exposed threads pulled that tight are more likely to snap.
On the second attempt, I used the same technique but added an additional bead making the bezel looser. The corner was better, but still not up to my standards. The bottom two were done in the single thread technique.
I decided to go with a technique using multiple pieces that I learned from Melanie Doerman. I do not buy many tutorials. I saw this bracelet in the Summer 2009 issue of Belle Amoire Jewelry and contacted Melanie before it was even in her store.
In preparing this post I made a visit to Melanie's website, The Magpie, and there learned of her recent death. It is a loss to the beading world and I will miss her talent.
Using a slight variation on her technique, the worst corner on my turquoise slab looks like this:
From the front it looks like this:
Here are a few more pictures:
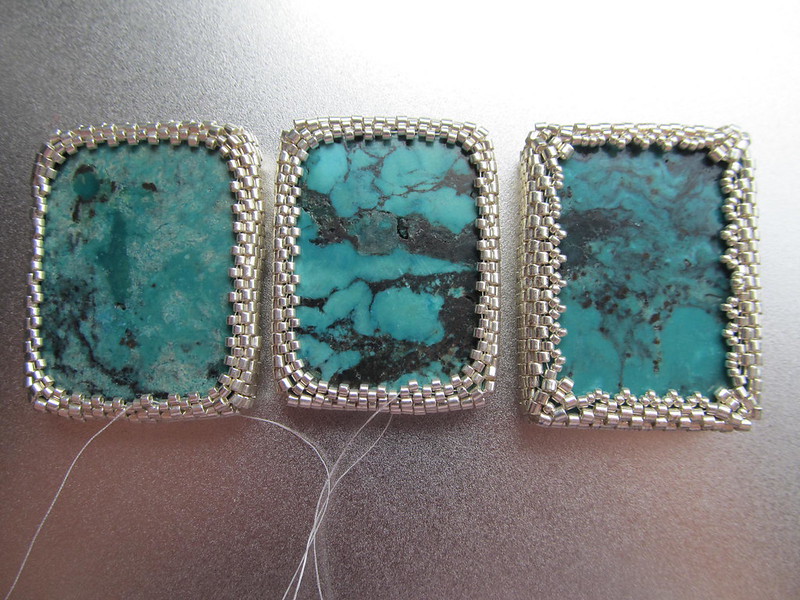
You can see the final bezeled turquoise slab on the right, above. The corners are sharper. Although the end piece looks thicker and longer all three slabs are close to the same size. I considered using Melanie's technique when I started but opted for the more simple technique. Next time I will know.
After the first attempt at bezeling the turquoise slab using a single thread technique I had a really ugly corner with large gaps. Not only was it ugly but it also did not bode well for longevity. Exposed threads pulled that tight are more likely to snap.
| Stretched corner on bezeled slab turquoise |
| Corner views of bezeled turquoise slab. |
![]() |
| Belle Amore Summer 2009, Fragments by Melanie Doerman |
In preparing this post I made a visit to Melanie's website, The Magpie, and there learned of her recent death. It is a loss to the beading world and I will miss her talent.
Using a slight variation on her technique, the worst corner on my turquoise slab looks like this:
| Corner view bezeled turquoise slab |
From the front it looks like this:
| Bezeled turquoise slab, at last. |
Here are a few more pictures:
| Close up corner view, stacked turquoise slabs |
| A tangle of threads- bezeled turquoise slab in progress |
| Three tries at bezeling the turquoise slab. |
Sunday, May 20, 2012
Thinking Ahead
Something different this week while I continue to work on my necklace.
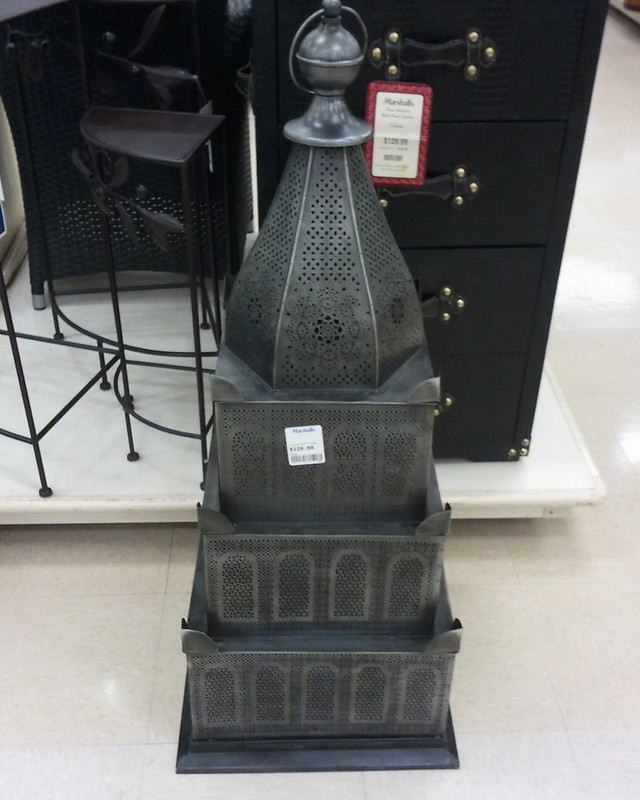
Thinking ahead is a reference to that day in the future when I have an inventory again and want to sell at fairs and festivals. While shopping at Marshall's this week I saw what I think would be a great display for bracelets and earrings. I snapped these pictures with my phone.
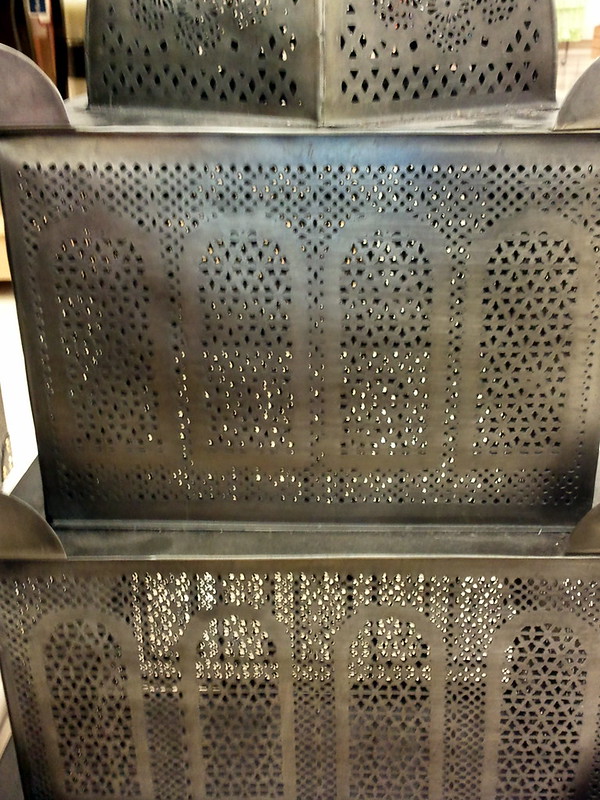
All those little perforations would make great places to hang earrings. I have earring cards and brass S hooks which would work perfectly with this. Necklaces could be draped from the corners. One tier could be used for bracelets.
The tower is light weight and metal. It does not turn. One alternative would be to sit it on a lazy Susan. Another alternative would be to only use the sides which are accessible. The piece sits about three feet high. It would look great with my very eclectic display and would help to differentiate me from other vendors.
The down side- it is large and it is currently priced at $129.00.
What do you think?
Thinking ahead is a reference to that day in the future when I have an inventory again and want to sell at fairs and festivals. While shopping at Marshall's this week I saw what I think would be a great display for bracelets and earrings. I snapped these pictures with my phone.
| Moroccan Tower |
| Looking down on Moroccan tower |
| Closer view of tiers of Moroccan tower |
| Another close up of Moroccan tower, though this one seems a bit distorted. |
The tower is light weight and metal. It does not turn. One alternative would be to sit it on a lazy Susan. Another alternative would be to only use the sides which are accessible. The piece sits about three feet high. It would look great with my very eclectic display and would help to differentiate me from other vendors.
The down side- it is large and it is currently priced at $129.00.
What do you think?
Labels:
Earring Display possibility
Sunday, May 13, 2012
First, Happy Mother's Day; Second Pictures
Happy Mother's Day Mom. I wish I could spend the day with you. I love you.
Second, pictures of the bezeled turquoise slab.
Here is another view:
A view of the edge:
Good corner:
Bad corner:
Yes, despite my taped measure, this is still stretched a bit too much on the edge. I might be able to wiggle the beads a bit to lessen the tension on this corner. I might just bezel a second slab in order to decide which I like better.
Second, pictures of the bezeled turquoise slab.
| Long view, bezeled turquoise slab |
| Bezeled turquoise slab from the side |
A view of the edge:
| Turquoise slab bezeled edge |
| Bezeled turquoise slab good corner |
| Bezeled turquoise slab stretched corner. |
Yes, despite my taped measure, this is still stretched a bit too much on the edge. I might be able to wiggle the beads a bit to lessen the tension on this corner. I might just bezel a second slab in order to decide which I like better.
Labels:
bezeled turquoise slab
Sunday, May 6, 2012
Short Cut for Bezeled Stones
Bezeling stone cabochons takes a bit of trial and error for each stone because:
1) The stones are not all the same size
2) A single strand of beads does not sit well on the stone, especially round stones, making measurements difficult.
Double sided tape would hold the strand in place, however, I am just not sure what the effect will be over the years so that is an option I choose not to use.
My shortcut? Painter's tape.
Get a rough estimate of the circumference of your stone.
Cut a straight edge on the leading edge of your painter's tape.
Cut a straight edge on the trailing edge of your painter's tape just a bit larger than the stone you want to set.
Wrap the tape around the stone.
Mark the overlap with a marker.
Remove the tape.
Cut a straight edge through the mark on the long end of the painter's tape.
String your beads to the length between the two points.
This just makes it easier, you are still going to need to add just a bead or two extra to make up for the width of the beads.
As you can see, I am now working on getting the bezel done. I will have finished pictures next week; until then, here is are pictures of the first 3 rows, using Galvanized Bright Silver 10/0 delicas.
1) The stones are not all the same size
2) A single strand of beads does not sit well on the stone, especially round stones, making measurements difficult.
Double sided tape would hold the strand in place, however, I am just not sure what the effect will be over the years so that is an option I choose not to use.
My shortcut? Painter's tape.
Get a rough estimate of the circumference of your stone.
Cut a straight edge on the leading edge of your painter's tape.
Cut a straight edge on the trailing edge of your painter's tape just a bit larger than the stone you want to set.
Wrap the tape around the stone.
Mark the overlap with a marker.
Remove the tape.
Cut a straight edge through the mark on the long end of the painter's tape.
String your beads to the length between the two points.
| Short cut to measure a stone for a bezel |
This just makes it easier, you are still going to need to add just a bead or two extra to make up for the width of the beads.
As you can see, I am now working on getting the bezel done. I will have finished pictures next week; until then, here is are pictures of the first 3 rows, using Galvanized Bright Silver 10/0 delicas.
| Turquoise slab bezel in progress |
| Another view of the turquoise slab bezel in progress |
Labels:
how to bezel a stone,
Slab Turquoise
Subscribe to:
Posts (Atom)