Showing posts with label Cinnabar. Show all posts

Sunday, August 5, 2012

Plans

The bracelet I am currently working on is not a big project.  The elements are weaves and connections that I have done previously.  I had planned finishing the bracelet this weekend or next weekend.  Of course when you make plans the universe laughs; at least this time it is with joy and anticipation.

The job that I want in the location I want has just posted and I have to get my application in today.  I have family visiting next weekend.  My beading time is what is available to cut to finish the application and get my home sparkling clean and well organized.

I have made some progress.  Here are some pictures.
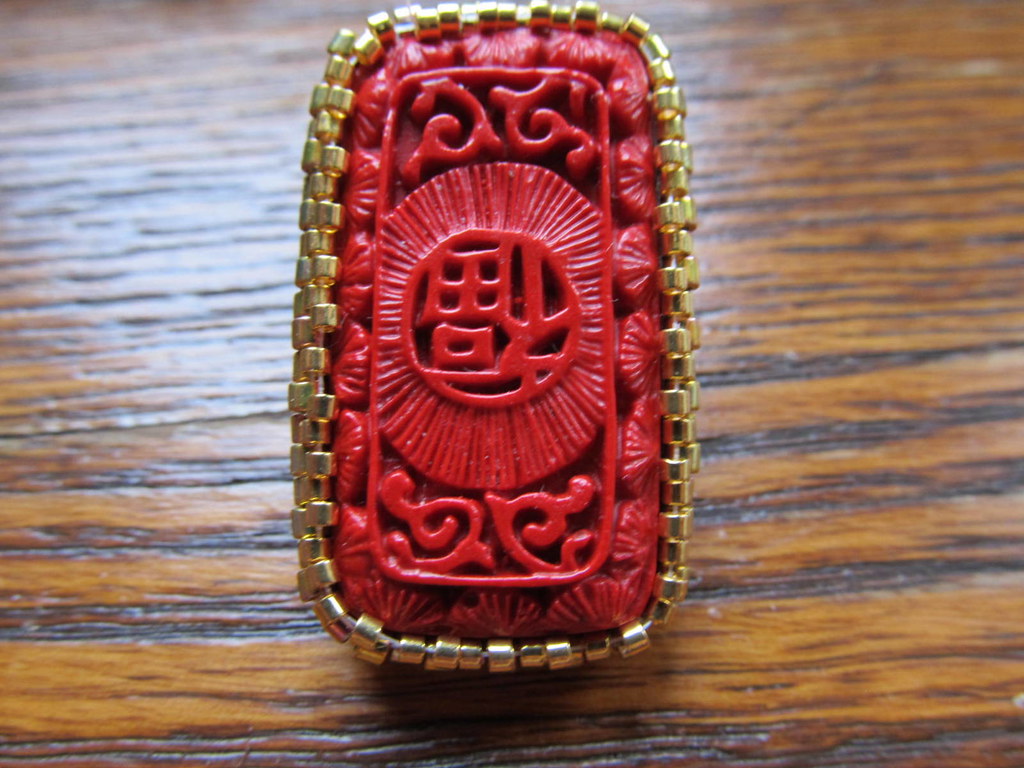
Bezzeled Cinnabar Solo Top View
Bezzeled Cinnabar Propped Side
Bezzeled Cinnabar Top View with Secondary Beads
I am absolutely loving the gold and red.

I have not clipped the threads on the bezel yet because I am not sure if I am going to get rid of the last row of 15/0.  They overlap a bit further than I would like onto the top carving.

I am going to orient the cinnabar with the narrow side to fingertips and elbow, wide side to the left and right of the wrist.  The hole in the cinnabar runs through the narrow sides, that is, it is oriented wrong for the bracelet design.  I need to run the thread back through the side beads and through the drilled hole to firmly anchor the bezel.  The reorientation is the only untried part of this bracelet.

See you in two weeks.

Sunday, July 29, 2012

New Project

I don't know about you but the hardest part of each project for me is picking out colors.

Last week a friend of mine did a blog post about mood boards and I commented that I do not create mood boards or design boards.  Instead, I go through my beads and pull out what I think is appropriate for the project that I have in mind.

My next project is going to utilize a long cinnabar bead as the focal for a bracelet.  It will also include 24 kt gold iris Delicas.  Those are the only certain choices.

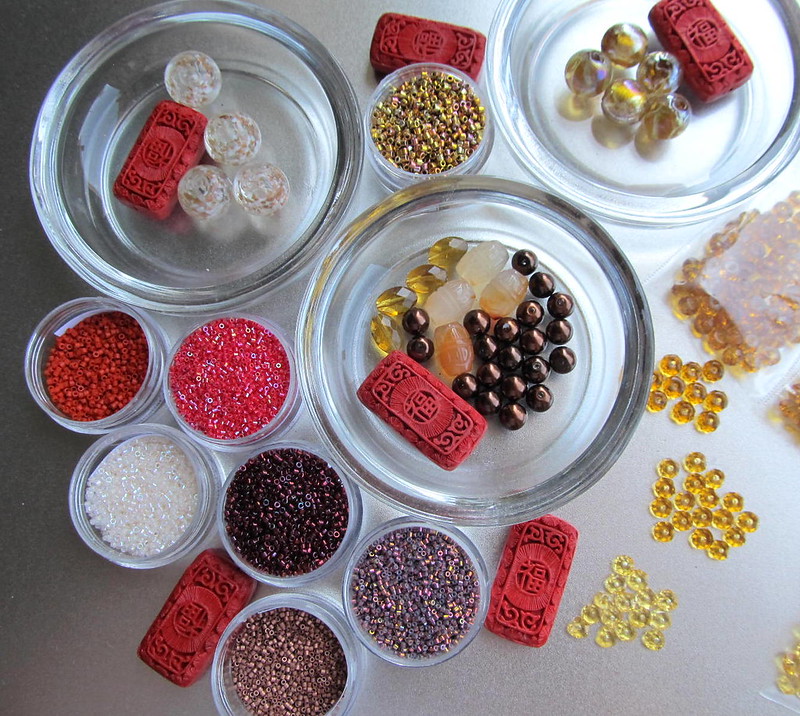
Here are all the starting choices:
Big mood board for cinnabar bracelet project

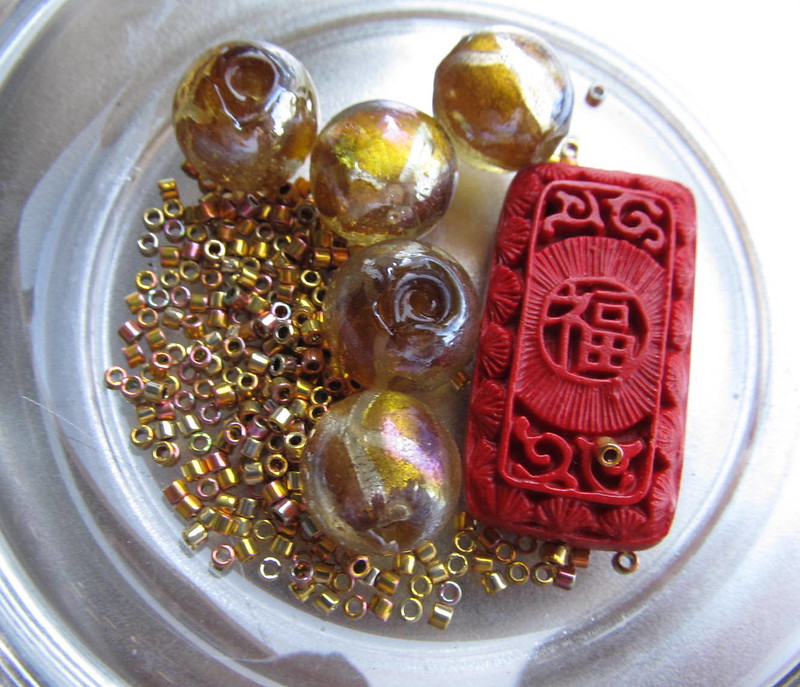
As I stated the only choice is the cinnabar and the gold iris Delicas.  Then, I need to make a choice between two secondary beads.  Here is the first option:
Secondary Bead with Delicas Cinnabar Mood Board Choice 1
I really like this option.  I like the gold foil in these beads, I like the visual texture, and I like the size.  This is likely to be my choice.

There is, however, a second option:
Secondary Bead with Delicas Cinnabar Mood Board Choice 2
It is difficult to tell from this picture, but these beads are mostly clear with clouds of gold dust and white swirled throughout.  The gold in these beads are a bit more visually delicate and will likely be a nice balance against the rest of the bracelet.

Both choices are viable.  I will make up my mind when I am ready to add them to the bracelet.

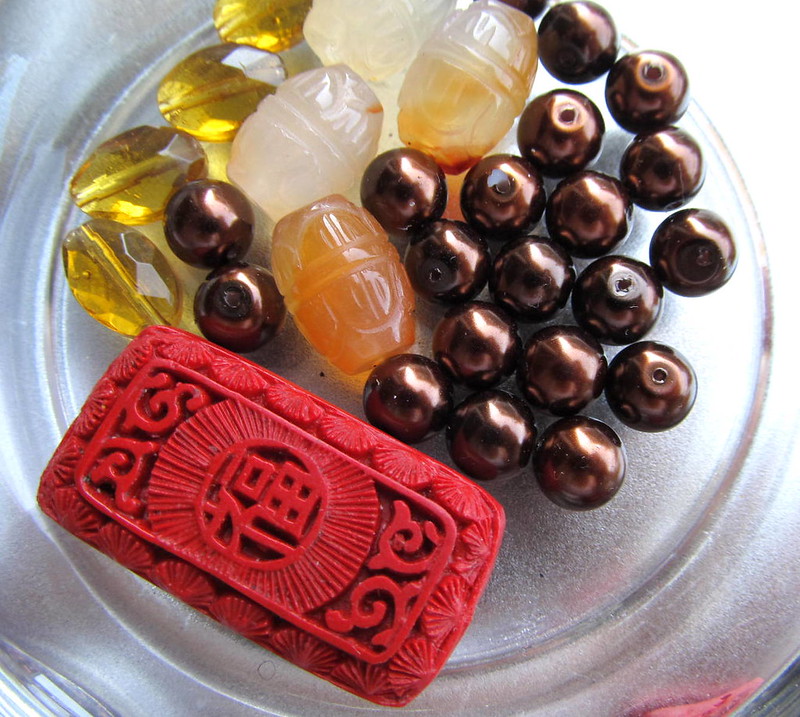
Planning ahead, I may be in need of a tertiary bead to round out the bracelet.  Here are my choices:
Tertiary Beads Cinnabar Mood Board

In this set of choices, I like the jade barrels, they pick up on the mood of the cinnabar focal but I don't think the color is going to be quite right.  The crystals are nice, but I think are a bit to yellow.  Finally, I am leaning toward to dark bronze beads.  Again, all options remain viable and I will make a choice if it becomes necessary.

Of course, there are going to be additional seed beads.  The gold iris beads are in the center of the picture below:
Delicas Cinnabar Mood Board
This is going to be a more limited choice.  The gold iris beads are a size 10.  I need to make two more choices, an 11/0 and a 15/0.

Finally, I do not have all that I need for the finished piece.  I need a gold tone clasp and some chain.  I need the chain because I want this bracelet to be adjustable in length.  *sigh*  You would think with all the beady stuff I own a trip to the bead store would be unnecessary.
Sunday, April 3, 2011

If at first you don’t succeed…

keep trying.

I read this great article on studio quality photography using aluminum foil.  I immediately embraced the methodology described and placed my jewelry on aluminum foil.  Every time I laid a piece of jewelry on the foil it created a new scratch and wrinkle.  In a previous post I mentioned that a photograph shows every blemish including every scratch and wrinkle. 

I do not care for waste; replacing the aluminum foil for each photograph was not a viable long term solution.  My work-around was to purchase a silver colored tray.  This was not quite a success because it was too reflective. 

To resolve this problem I purchased a sheer piece of fabric to place on the silver tray and, thus, diffuse the reflection.  This worked well except I still had the wrinkle problem and to make matters worse the fabric I purchased is prone to scorching when ironed. 

This week I purchased a dull silver colored pizza pan at Wal-Mart for a mere $3.00.  I think this will work.  No wrinkles in the aluminum foil or fabric.  No ironing and no scorch marks.  Just the right amount of reflection, that is, the light bounces and there is a bit of reflective shine, but you cannot see the camera, my hand, or the ceiling.  I will let you know if scratches become an issue. 

I also purchased a tripod. 

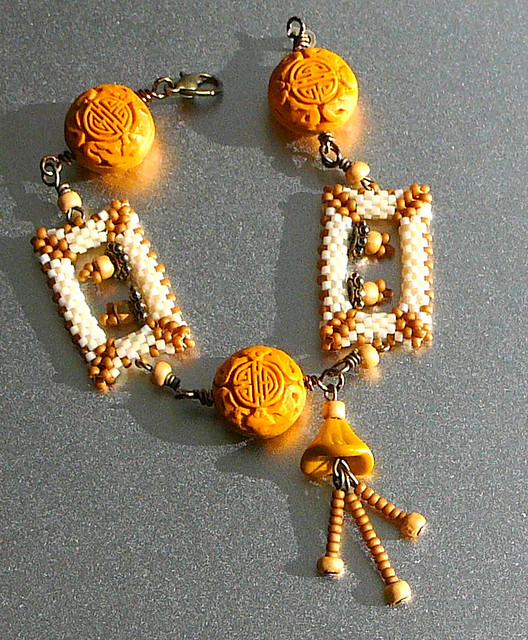
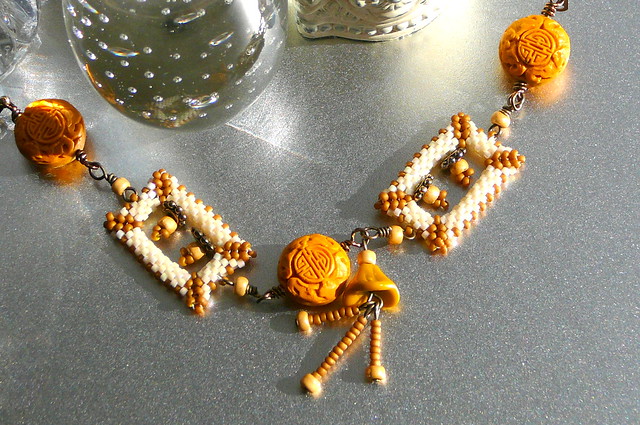
To test my new photography equipment I photographed a bracelet I made this week named Colonel Mustard.  The bracelet is made of mustard colored cinnabar, woven Delica beads embellished with Czech beads and brass spacers, joined by brass wrapped loops, embellished with a mustard colored glass bell, and an antiqued brass lobster claw. 
Colonel Mustard on the pizza pan
Colonel Mustard with the candle stick

If you would like a comparison of my trials visit my flickr stream to see the of Baroque and Brass.  When I was working on Baroque and Brass I photographed the center piece on aluminum foil, when it was completed I photographed it on the shiny tray with a fabric cover, and the final photograph is on the pizza pan.