Sunday, June 24, 2012

Project Organization

I will not be finished with the turquoise slab necklace with enough daylight left to take a picture.  The finished project will be featured next week- I promise myself.

In the meanwhile for those needing a way to organize projects check out the new bento boxes by Rubbermaid available at Target or at Amazon.  Amazon has them in red!

I had been walking by this box at Target for weeks and finally broke down and bought it.  It has the ingenious pull out dividers that can turn an open box into 4 separate storage areas, or 1 small square segregated from a larger storage space.  Here is a picture of the medium box filled with goodies for my current project:


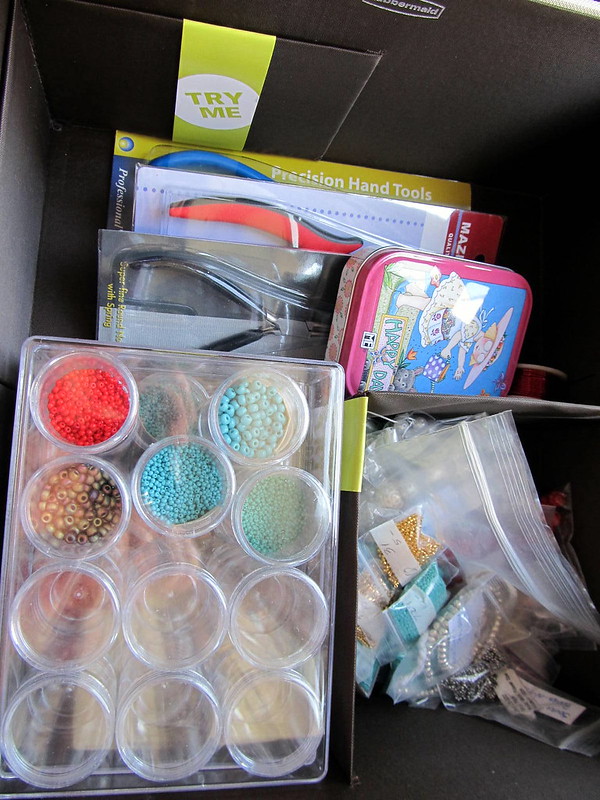
The "Try Me" sleeve is on the flexible divider.  You can see the other sleeve pulled out to act as a divider with the bag of gold seed beads in the bottom right hand corner of the picture.

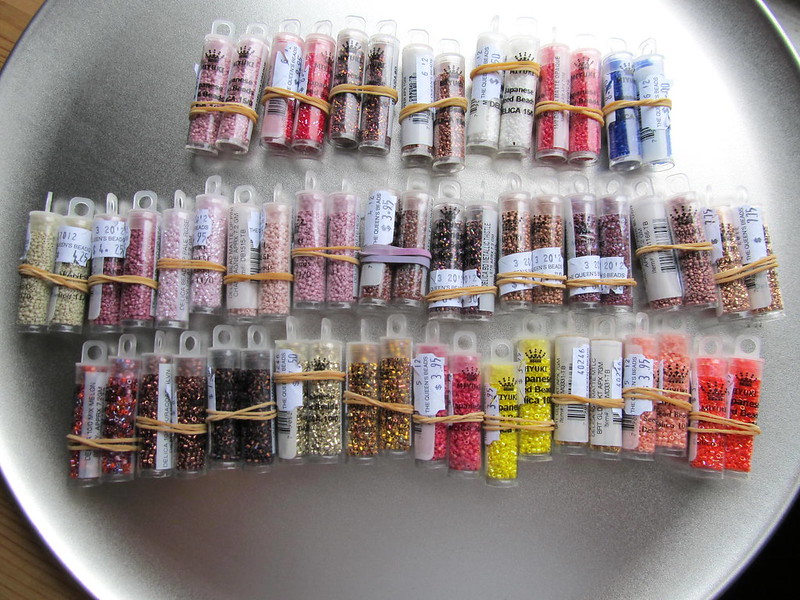
When I start a project I go through my stash and pull out everything that I might use and toss it into a project box.  You can see I have a few red seed beads, several versions of turquoise seed beads, more tools than I needed, gold beads (those were a new purchase not for this project) sterling beads, and whatever else struck my fancy.

Click on the pictures for a larger view.


Now, this box probably would not have caught my attention nearly so well had it not been for the tray which sits inside the box.  Below is a picture of the tray sitting askew atop the medium box.

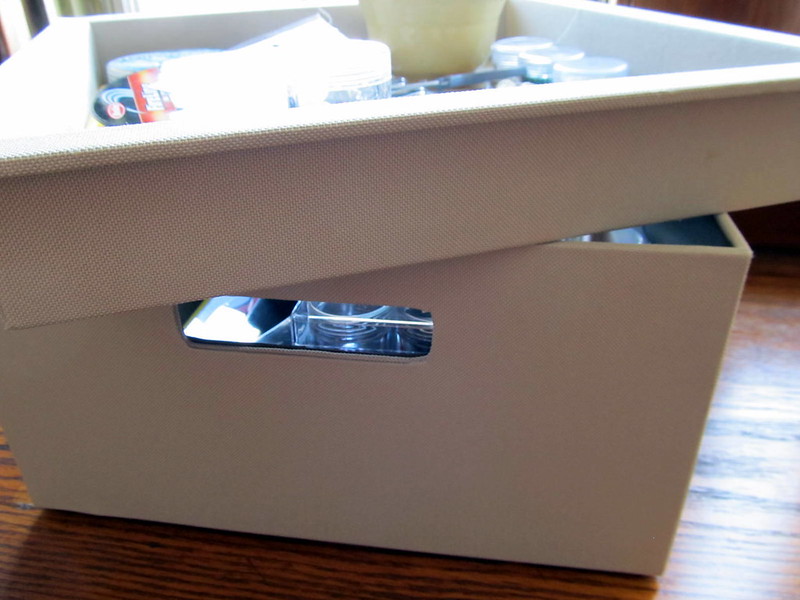
The tray comes at an additional price.

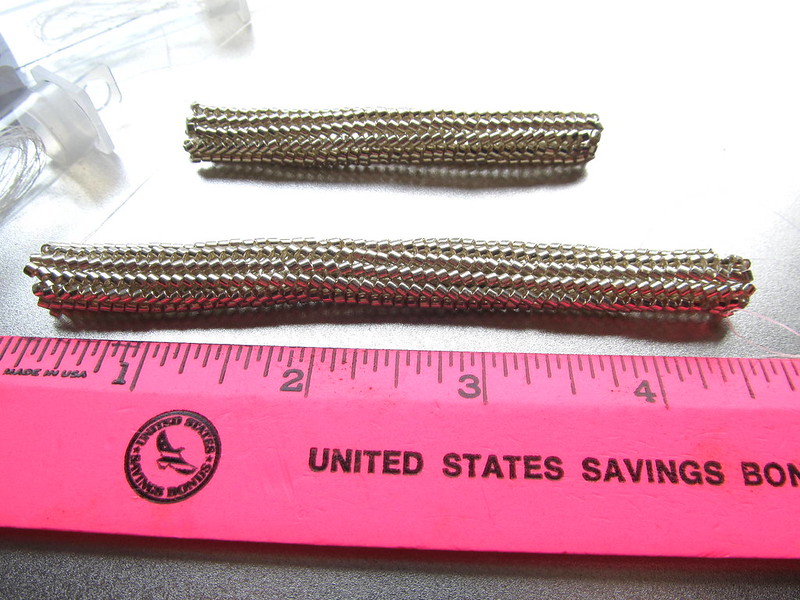
The tray contains what I am actually using to work on my current project- Fireline, seed beads, triangular bead trays (with beeswax, a needle or two, and beaded beads which will be used in the future.)  There are a few tools which I used in making the wire wrapped component of the middle strand.  Buried under the scissors is a coil of German silver, which I also used for the wire wrapped middle strand. A bag of turquoise rounds, coral rounds, and the coral squares I used.  More seed beads outside of the storage tray.  The silver seed beads are 15's, 11's, and 10's.  An old tin which contains more needles and a few more odds and ends.  Scissors and hemostats.  Pen and pencil because notes are sometimes required.  That yellow bowl in the top right corner is my garbage bowl.  The garbage bowl gets snips of thread, gum wrappers, sticky tags, wire ends, and other small goodies.

This box is great if you move from room to room or place to place with your project.

See you next week.


Sunday, June 17, 2012

MIscalculation

Yes, miscalculation.  20 grams of size 10 galvanized silver beads was not quite enough to complete the neckstrap for the turquoise slab necklace. 
Herringbone Strap In Progress

Here is a useful hint for those of you who move from place to place with unfinished beadwoven projects: use those empty tubes to store your threaded needle to avoid finger pricks and tangles.  Just wrap the thread around your fingers, just like you would an electrical cord, pinch it next to the needle and slide it into the tube and cap. 

I did make some progress:
Measured progress
I have two buying addictions: books and beads.  I will never ever have enough books.  I might just have enough beads.  I have been getting much better at resisting temptation.  Yesterday, however, I purchased many many tubes of Delica beads at the Intergalactic Bead Show. Should you find yourself at this show I highly recommend The Queen's Beads- her selection is fine and the prices cannot be beat.  Here is what I picked up:
Delica haul: top size 15, middle size 11, bottom size 10 
The beads were laid out on my favorite dull reflective backdrop- a pizza pan.  I almost cropped the picture so it would not be quite so obvious.  I really like to use the pizza pan for my backdrop.  It is slightly reflective so I get a bit of extra light; it has a pebbled finish so you do not get a reflection of the camera. 

Despite my haul, the vendor did not have the beads I needed, so I still need to place a mail order from my favorite Delica vendor: Painters Beads.

Sunday, June 10, 2012

Rectangular Beaded Reducation Bar

Last weekend I began creating the bar that will be used to reduce the three strands to a single strand in the turquoise slab necklace.  This weekend I finished the embellishments.  I am really pleased with this beaded bead. 

Here is a front view:
Beaded bead as reduction bar for turquoise slab necklace
I wanted to make the back side pretty as well as accessible as an alternative look so I embellished the back side a bit differently:
Beaded bead as reduction bar for turquoise slab necklace
This beaded bead started out as a flat right angle weave out of 8/0 Turquoise AB Czech beads.  When I added the first layer of embellishment the bead work tightened and the long edges curled.  That was all the inspiration I needed to join the two edges with more right angle weave and another round of embellishment.  Here is a side view propped against the turquoise slab to give you an idea of proportion:
Side view beaded reduction bar with bezeled turquoise slab
One more side view:
Side by side beaded reduction bar and turquoise slab
Because everyone loves pictures here is another view of the front with the bezeled turquoise slab:
Front of beaded reduction bar and bezeled turquoise slab
One more picture, this time the back of the beaded reduction bar and the bezeled turquoise slab:
Back of beaded reduction bar and bezeled turquoise slab
As I said above, I am happy with the beaded bead.  I had many pass throughs, so the closeups show the fireline thread.  They will not catch attention once this is a part of the necklace.

As to the necklace, I still need to complete the neck strap.  I have not decided between my favorite, tubular peyote or tubular herringbone.  The peyote will be stronger but not as fluid.  I think I am going to opt for the fluid.  If you have a suggestion, I am all ears.  I need to make some bead caps- now if I can just find that piece of pattern that I use.  Finally, I need to make the toggle.  It is all simple weaving and assembly from here on in.