Many months ago Mandy of Beads for Brains and I exchanged
e-mails bemoaning the fact that a simple round beaded bead made with Delicas
never quite turned out to meet our high expectations. It seems all my efforts showed too much
thread, the underlying bead, or was slightly unbalanced. I finally made a beaded bead that works.
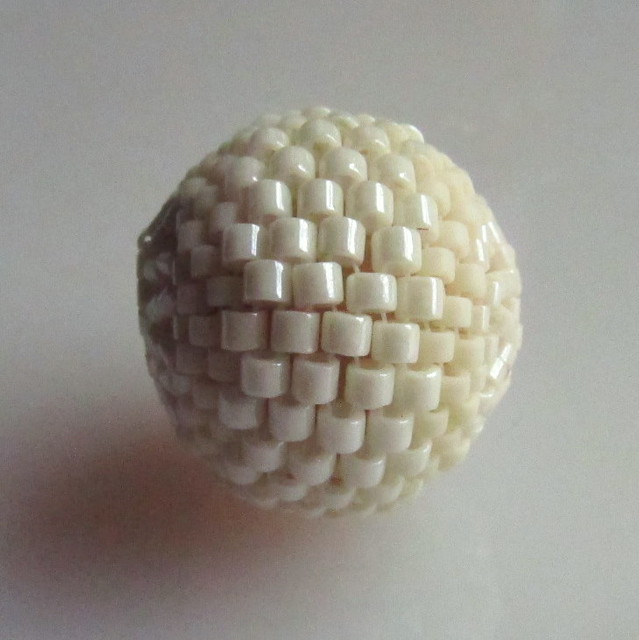
Here is one that doesn’t work- notice the thread and the
bead on which it is woven?

Having pointed out why it is unsatisfactory, it is only fair that also tell you that beaders that I showed this bead to thought it was just fine. Macro pictures show every slight flaw. Here is a different view of the same bead:
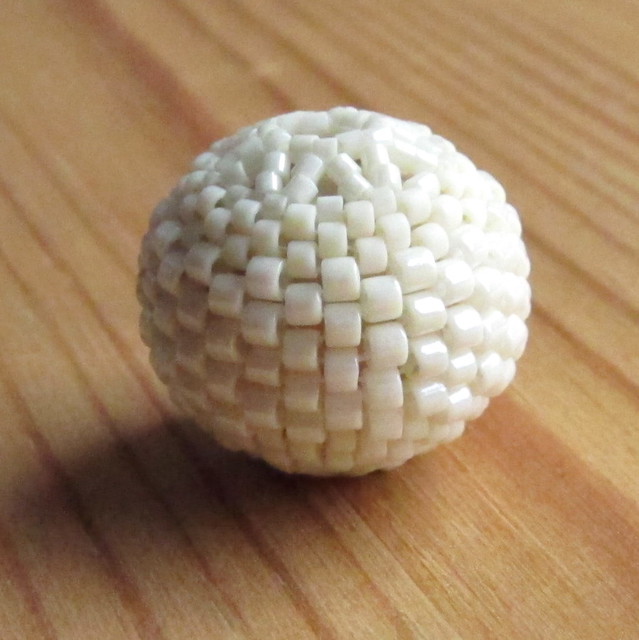
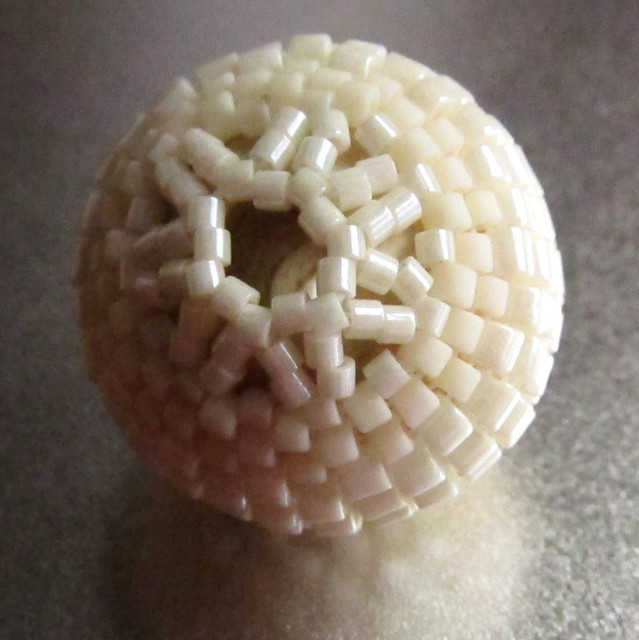
Here are two other views of the beaded bead that worked:
I told Mandy I would share my notes when I found them during
the process of unpacking. These are
notes, not a diagram. If you are not
familiar with peyote this is not going to be much help, if you know peyote this
is what worked for me.
You will need:
- a 5/8 inch wooden bead. Available at Michaels
- Delicas in sizes 10, 11, and 15
- Needle, Fireline (or your preferred thread)
The Beginning: Thread 29 size 10 Delicas and tie a knot
creating a circle of beads. The tail
should be equal on both sides, with needles on both sides.
Size 10 Rows: Peyote 8 rows of size 10 Delicas; that is 4
rows on one side of that original circle (for future reference this is named the north side) and 4 rows on the other side (this named the south side.)
Size 11 Rows: Peyote 2 rows of size 11 Delicas on the north
side and 1 row of size 11 Delicas on the south side of the beaded bead.
Size 15 Rows: Peyote 1 row of size 15 Delicas on the north
side and 1 row of size 15 Delicas on the south side.
Netting Rows: On the north side exit from a size 15 Delica,
add 5 size 15 Delicas, skip a size 15 Delica from the final peyote row, and
enter the next size 15 Delica from the final peyote row. Rinse and repeat. Assuming my counting is correct you should
have 7 scallops. Repeat on the south
side.
Final Row: On the north side exit through the middle (3rd)
bead of the size 15 netting row, add a bead, and enter the 3rd bead
of the next size 15 netting row, rinse and repeat. When the circle is complete pull your thread
tight and weave back through your bead work to tie your knot. Repeat on the south side.
I love this beaded bead, it is simple, it is clean, it is
even, no threads show, and I really like the top and bottom. As the top is netted you may want to try a trick I picked up on other blogs and use nail polish on your wooden bead prior to beading to give it a more finished look. Maybe at some point in the future I will draw
some diagrams. Hopefully these notes
will be enough for you to create your own unembellished and simple beaded bead. If you decide to try out these directions, please let me know what your results were like.
You may recall I recently purchased a camera. The pictures in this post were an exercise in
learning about my new camera. I am still
on that steep learning curve and hope to post about how I chose my camera in
the future. The beaded bead pictures were
done on different settings. Thus, this
blog post served two purposes: a commitment kept and a camera test. The names of the pictures include my notes on
the settings I used.
I moved this summer and had my furniture delivered in
July. I tell people I have finished unpacking;
which strictly defined means I have opened all the boxes and created a large
pile of things to be given away. I have
scanned all my hardback books into a spreadsheet so I know what I have. I have also washed everything, including at
least 24 curtains. What I haven’t quite
accomplished yet is getting the decorations out or my bead studio and table
organized. Also still on my to do list
is scanning all my paperbacks and scanning the boxes of paper I have to my
computer.
To toot my horn about my accomplishments and to show you what
needs to be completed here are a few more pictures- these were taken on the “easy”
setting of my new camera.
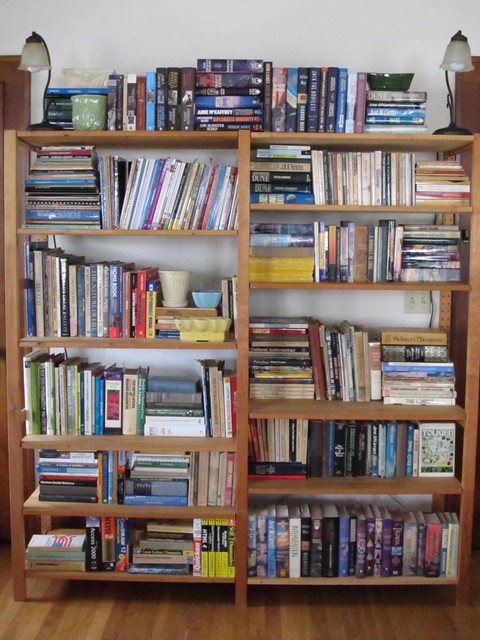
The hardback books:
The paperback books:

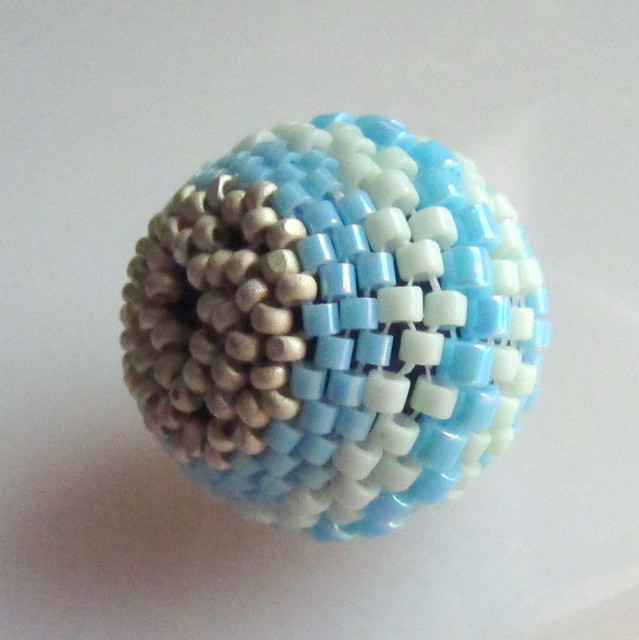
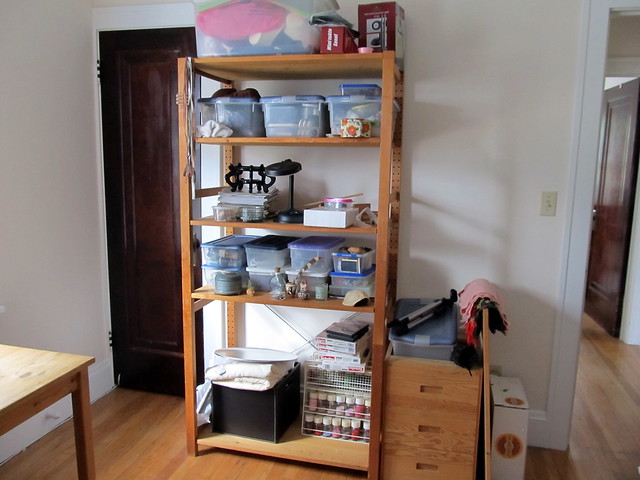
My bead studio storage more is planned and necessary as these are not even my best beads:
My bead table- scattered with many things that don’t belong
and a clean corner where I took my photos this morning.

Now, it is time to go and do some organizing.
Gorgeous bead. I can't imagine the hours it took to make.
ReplyDeleteTootles
Diana
Thanks Diana. I can't remember how long it took to create- the actual beading time probably wasn't bad, the creating, recreating, recreating, etc... until it was right was a lot longer.
ReplyDeleteA one mm flaw? As if anybody would notice but you! HAHAHAH! Thanks for pointing it out so we wouldn't miss it (;
ReplyDeleteBy the way, I just put you on my blog roll, so I'll be more likely to see your posts from now on. It was an oversite, and something that has been long overdue. xoxox
LOL Gwen. Of course I noticed it. Don't deny you would notice it in your own work too. I did admit that the other beaders I showed it too liked it.
ReplyDeleteThank you for adding me to your blog roll. For a few weeks that ought to spur me to blog more regularly.
What awesome notes. Yes I know we are so much better at pointing out our own flaws but really girl these are ALL awesome!
ReplyDeleteThanks Kristen.
ReplyDeleteIt's been four days, and no new posts... what's up with that?
ReplyDeleteI honestly LOL. I have another handful of blogs to add to my links page, but I think I will save those for another day. I need to write a post about my camera purchase. This morning I printed out a pattern in German that I bought a couple of months back to make this weekend. Hopefully I will be able to post pictures tomorrow. There, I said it now I have to do it.
ReplyDelete